> For the complete documentation index, see [llms.txt](https://docs.valtimo.nl/llms.txt). Markdown versions of documentation pages are available by appending `.md` to page URLs; this page is available as [Markdown](https://docs.valtimo.nl/valtimo-docs-v3/features/dashboard.md).
# Dashboard
The dashboard is used to display useful information to Valtimo users at a glance. Dashboards can provide the user with statistical information. Using this information, the user will be enabled to prioritize and focus on specific tasks.
A dashboard contains a set of widgets that display data in a customised way. These dashboards and widgets can be configured by an administrator accordingly.
{% hint style="info" %}
**Concepts**
* **Dashboard** A container for any number of widgets. Multiple dashboards can be configured, which will be shown to the user as tabs.
* **Widget** Presents data from a datasource using a display-type to the user.
* **Data-source** Every dashboard widget retrieves its data from a data-source.
* **Display-type** A display type is responsible for the visualisation of data. For example: bar char, big number, meter, gauge, or any custom. Display types are only available for data-sources that return the required data.
{% endhint %}
## Creating a dashboard
There are two ways of configuring dashboards:
* Manually via the UI
* Using auto-deployment via the IDE
{% tabs %}
{% tab title="Via UI" %}
{% hint style="info" %}
Configuring dashboards requires:
* Admin privileges
{% endhint %}
* Go to the `Admin` menu
* Go to the `Dashboard` menu
* Click on **Add new dashboard**
* Fill in the form
 
When creating a dashboard, two fields need to be filled in:
* The 'Dashboard name' will be shown to the user on the dashboard page.
* The 'Description' field is only visible for the system administrator. It will not be shown to the end users.
{% endtab %}
{% tab title="Via IDE" %}
Dashboards can be auto-deployed from a json file at startup. This is useful to keep the dashboard configuration identical across multiple environments. Dashboards are auto-deployed by scanning files on the classpath that end in `.dashboard.json`.
**Changesets**
Every deployment file for represents a changeset. These files are required to contain a changesetId that should be unique over all deployment files that use changesets. When starting up, changesets that have already been executed will be ignored. A checksum of the changeset is created when it is executed. Changesets that have already been deployed should not change. Changesets that have been changed since a previous time will result in an error and failure to start the application.
All changesets can be executed again, even when the content has changed, by setting the `valtimo.changelog.dashboard.clear-tables` property to `true`.
**Example**
You can find an example of the JSON below.
In this example a widget is created with display type `number` and data source `case-count`. Different [display types](/valtimo-docs-v3/features/dashboard/widget-display-types.md) and [data sources](/valtimo-docs-v3/features/dashboard/dashboard.md) can be used to customize the layout of the dashboard.
```json
{
"changesetId": "example-dashboard-v1",
"dashboards": [
{
"key": "example-dashboard",
"title": "Dashboard",
"description": "This is an example dashboard",
"order": 1,
"widgetLayout": "BEAUTIFUL",
"widgetConfigurations": [
{
"key": "nr_of_cases_awaiting_customer_feedback",
"title": "Nr of cases awaiting customer feedback",
"dataSourceKey": "case-count",
"dataSourceProperties": {
"documentDefinition": "generic-case-type",
"queryConditions": [
{
"queryPath": "doc:status",
"queryOperator": "==",
"queryValue": "AWAITING_FEEDBACK"
}
]
},
"displayType": "number",
"displayTypeProperties": {
"title": "Nr of cases awaiting customer feedback",
"subtitle": "Of type ",
"label": null,
"useKPI": true,
"lowSeverityThreshold": 25,
"mediumSeverityThreshold": 50,
"highSeverityThreshold": 75
}
}
]
}
]
}
```
{% endtab %}
{% endtabs %}
## Layout algorithm
The way a dashboard's widgets are arranged can be chosen per dashboard. The same options are available for case widget tabs and IKO tabs.
| Selector label | Stored value (`widgetLayout`) | Behaviour |
| ------------------- | ----------------------------- | ------------------------------------------------------------------------------------------------------------------------------------------------------------------- |
| Default (less gaps) | `MUURI_GAP_FREE` | Muuri masonry that fills small gaps. Keeps the widgets in their configured order as much as possible. **Used when nothing is configured** (the original behaviour). |
| Default | `MUURI` | Plain Muuri masonry without gap filling. Keeps the configured order, but empty gaps can remain. |
| Gap free | `BEAUTIFUL` | Custom dense-packing algorithm. May reorder widgets within a section to remove gaps and almost always produces a clean layout without holes. |
**Trade-off:** *Default* and *Default (less gaps)* keep the widgets in the order you configured (predictable) but can leave empty space, while *Gap free* reorders widgets to eliminate gaps at the cost of changing their order.
{% tabs %}
{% tab title="Via UI" %}
* Go to the `Admin` menu
* Go to the `Dashboard` menu
* Select a dashboard and click **Edit**
* Choose an option in the **Layout algorithm** dropdown and save
An information block underneath the dropdown summarises the trade-off described above.
{% endtab %}
{% tab title="Via IDE" %}
Add the optional `widgetLayout` property to the dashboard object in the `.dashboard.json` file, using one of the stored values from the table above. When the property is omitted the layout falls back to `MUURI_GAP_FREE`.
```json
{
"key": "example-dashboard",
"title": "Dashboard",
"description": "This is an example dashboard",
"order": 1,
"widgetLayout": "BEAUTIFUL",
"widgetConfigurations": []
}
```
{% endtab %}
{% endtabs %}
## Adding widgets
After creating a dashboard, widgets can be added to the dashboard.
{% tabs %}
{% tab title="Via UI" %}
* Go to the `Admin` menu
* Go to the `Dashboard` menu
* Click the dashboard that needs to be configured
* Click on **Add new widget**
* Fill in the form
 
{% endtab %}
{% endtabs %}
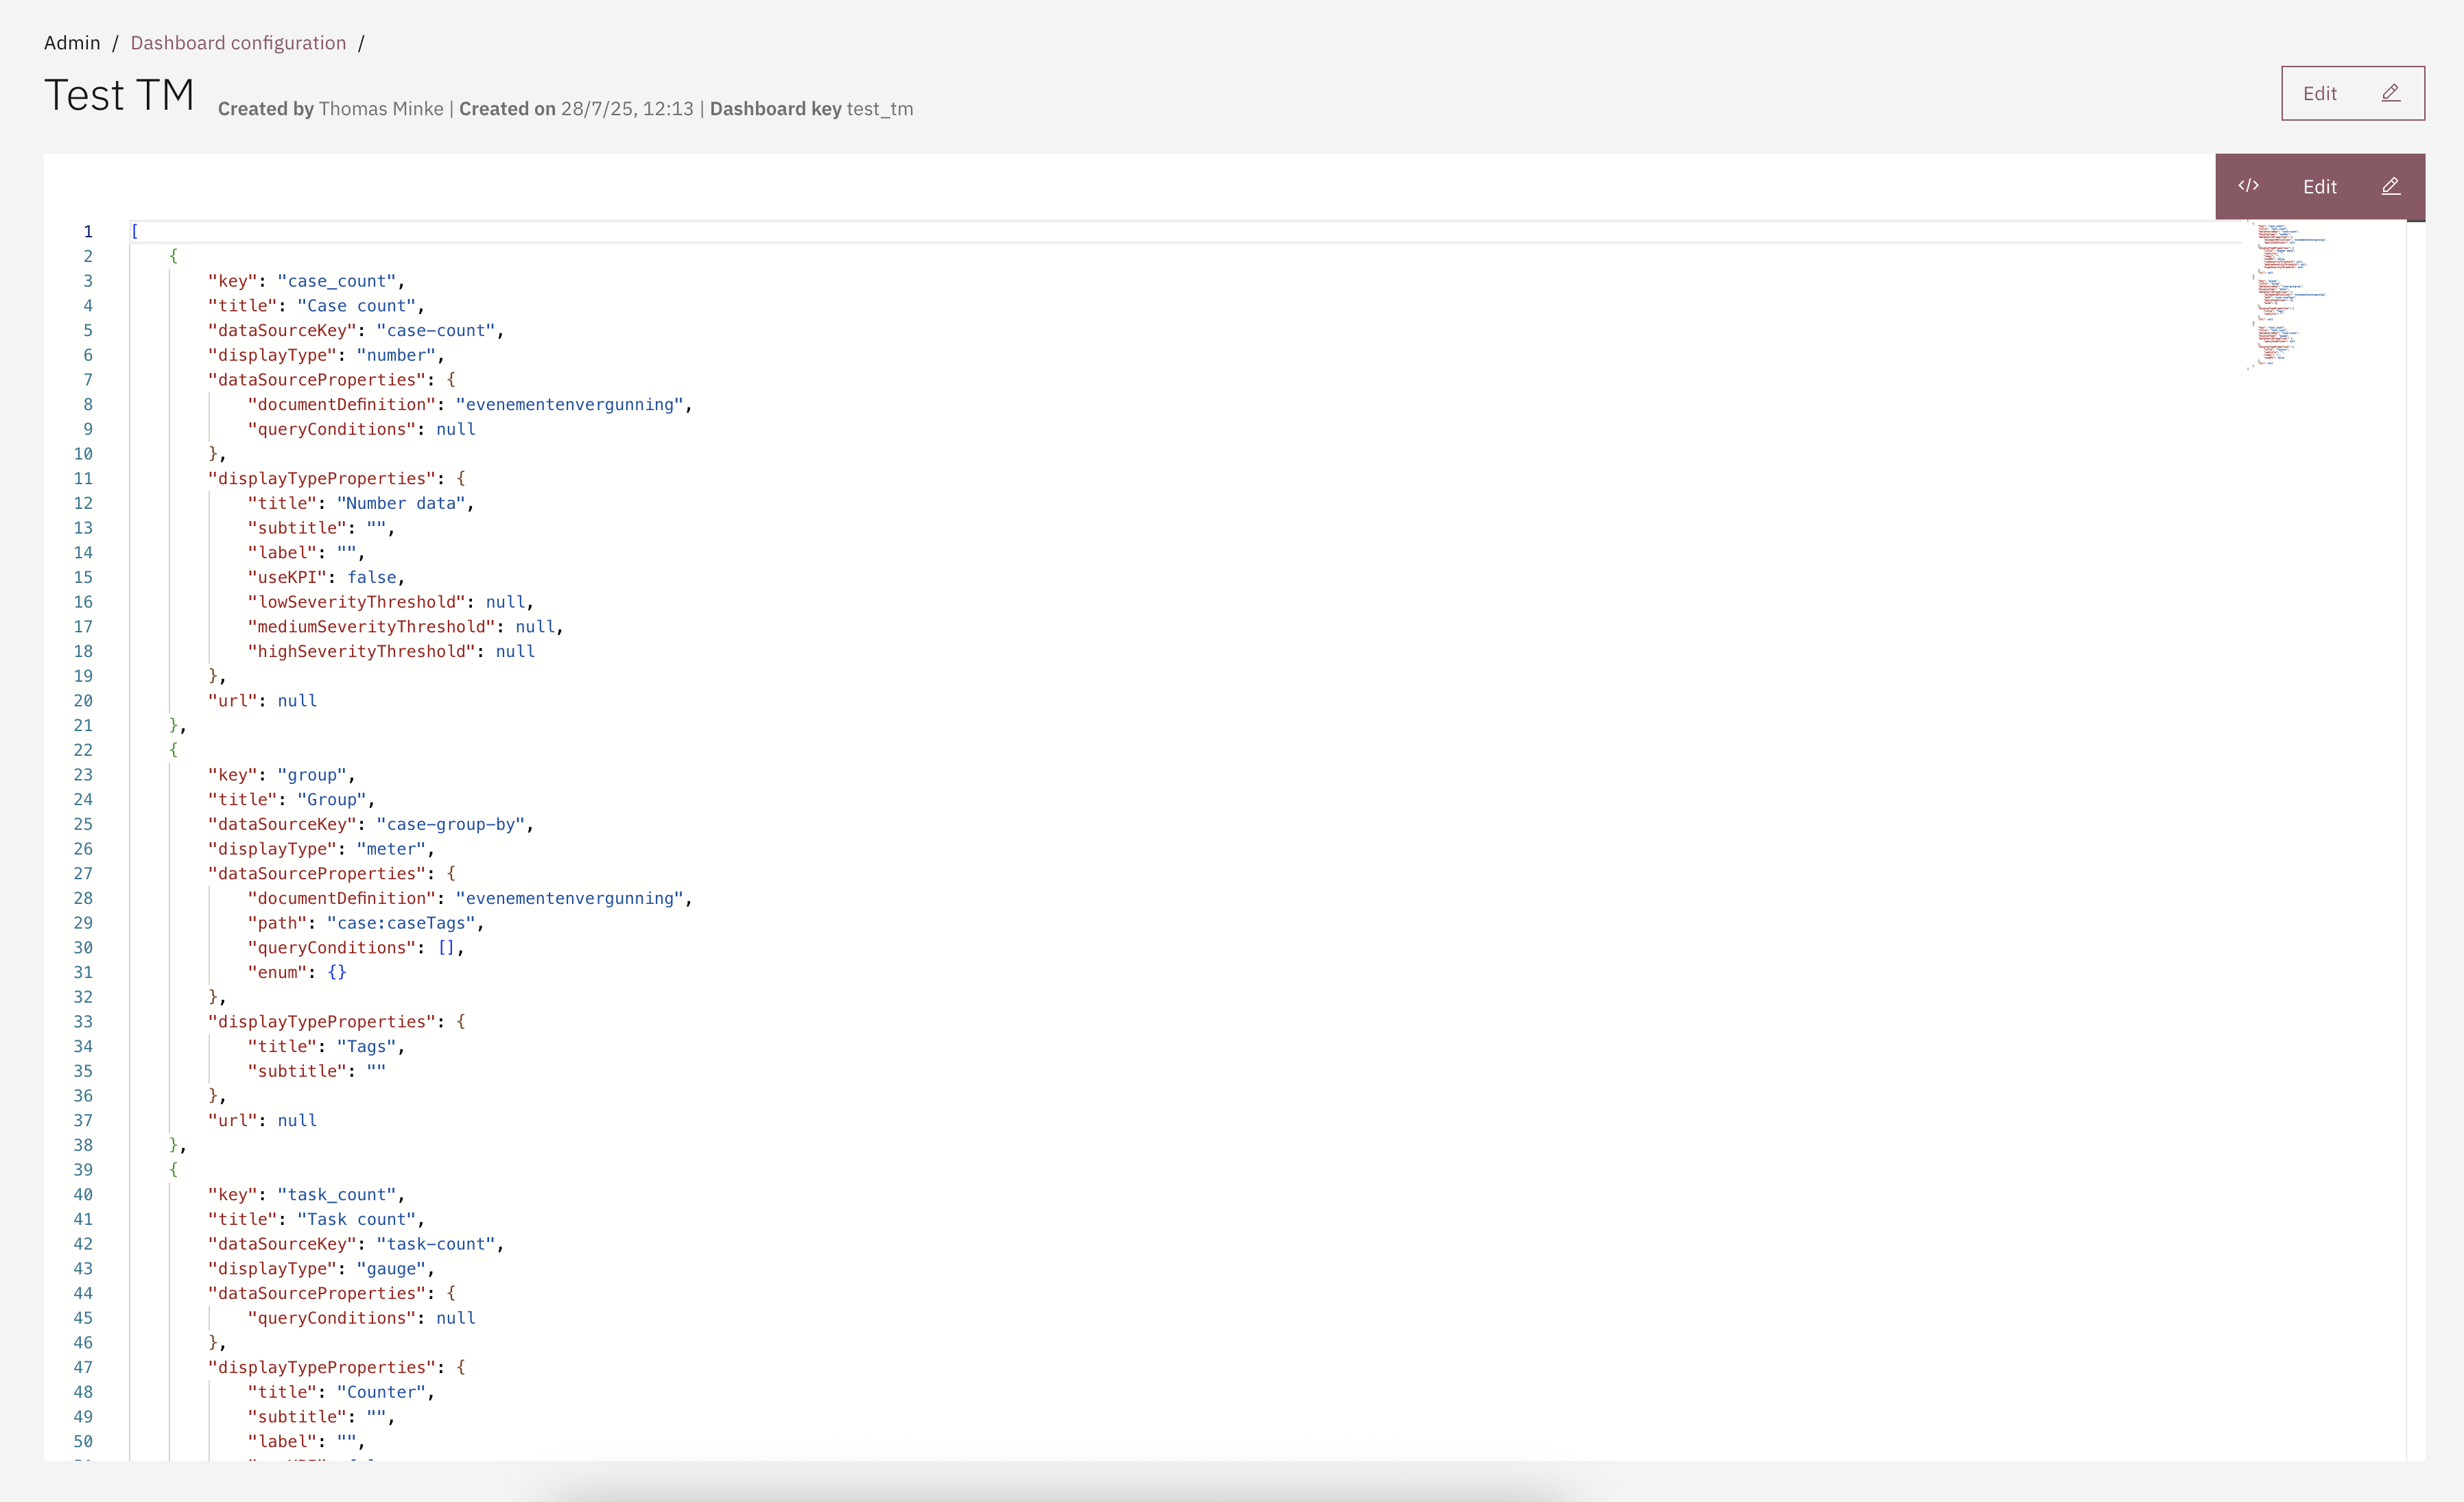
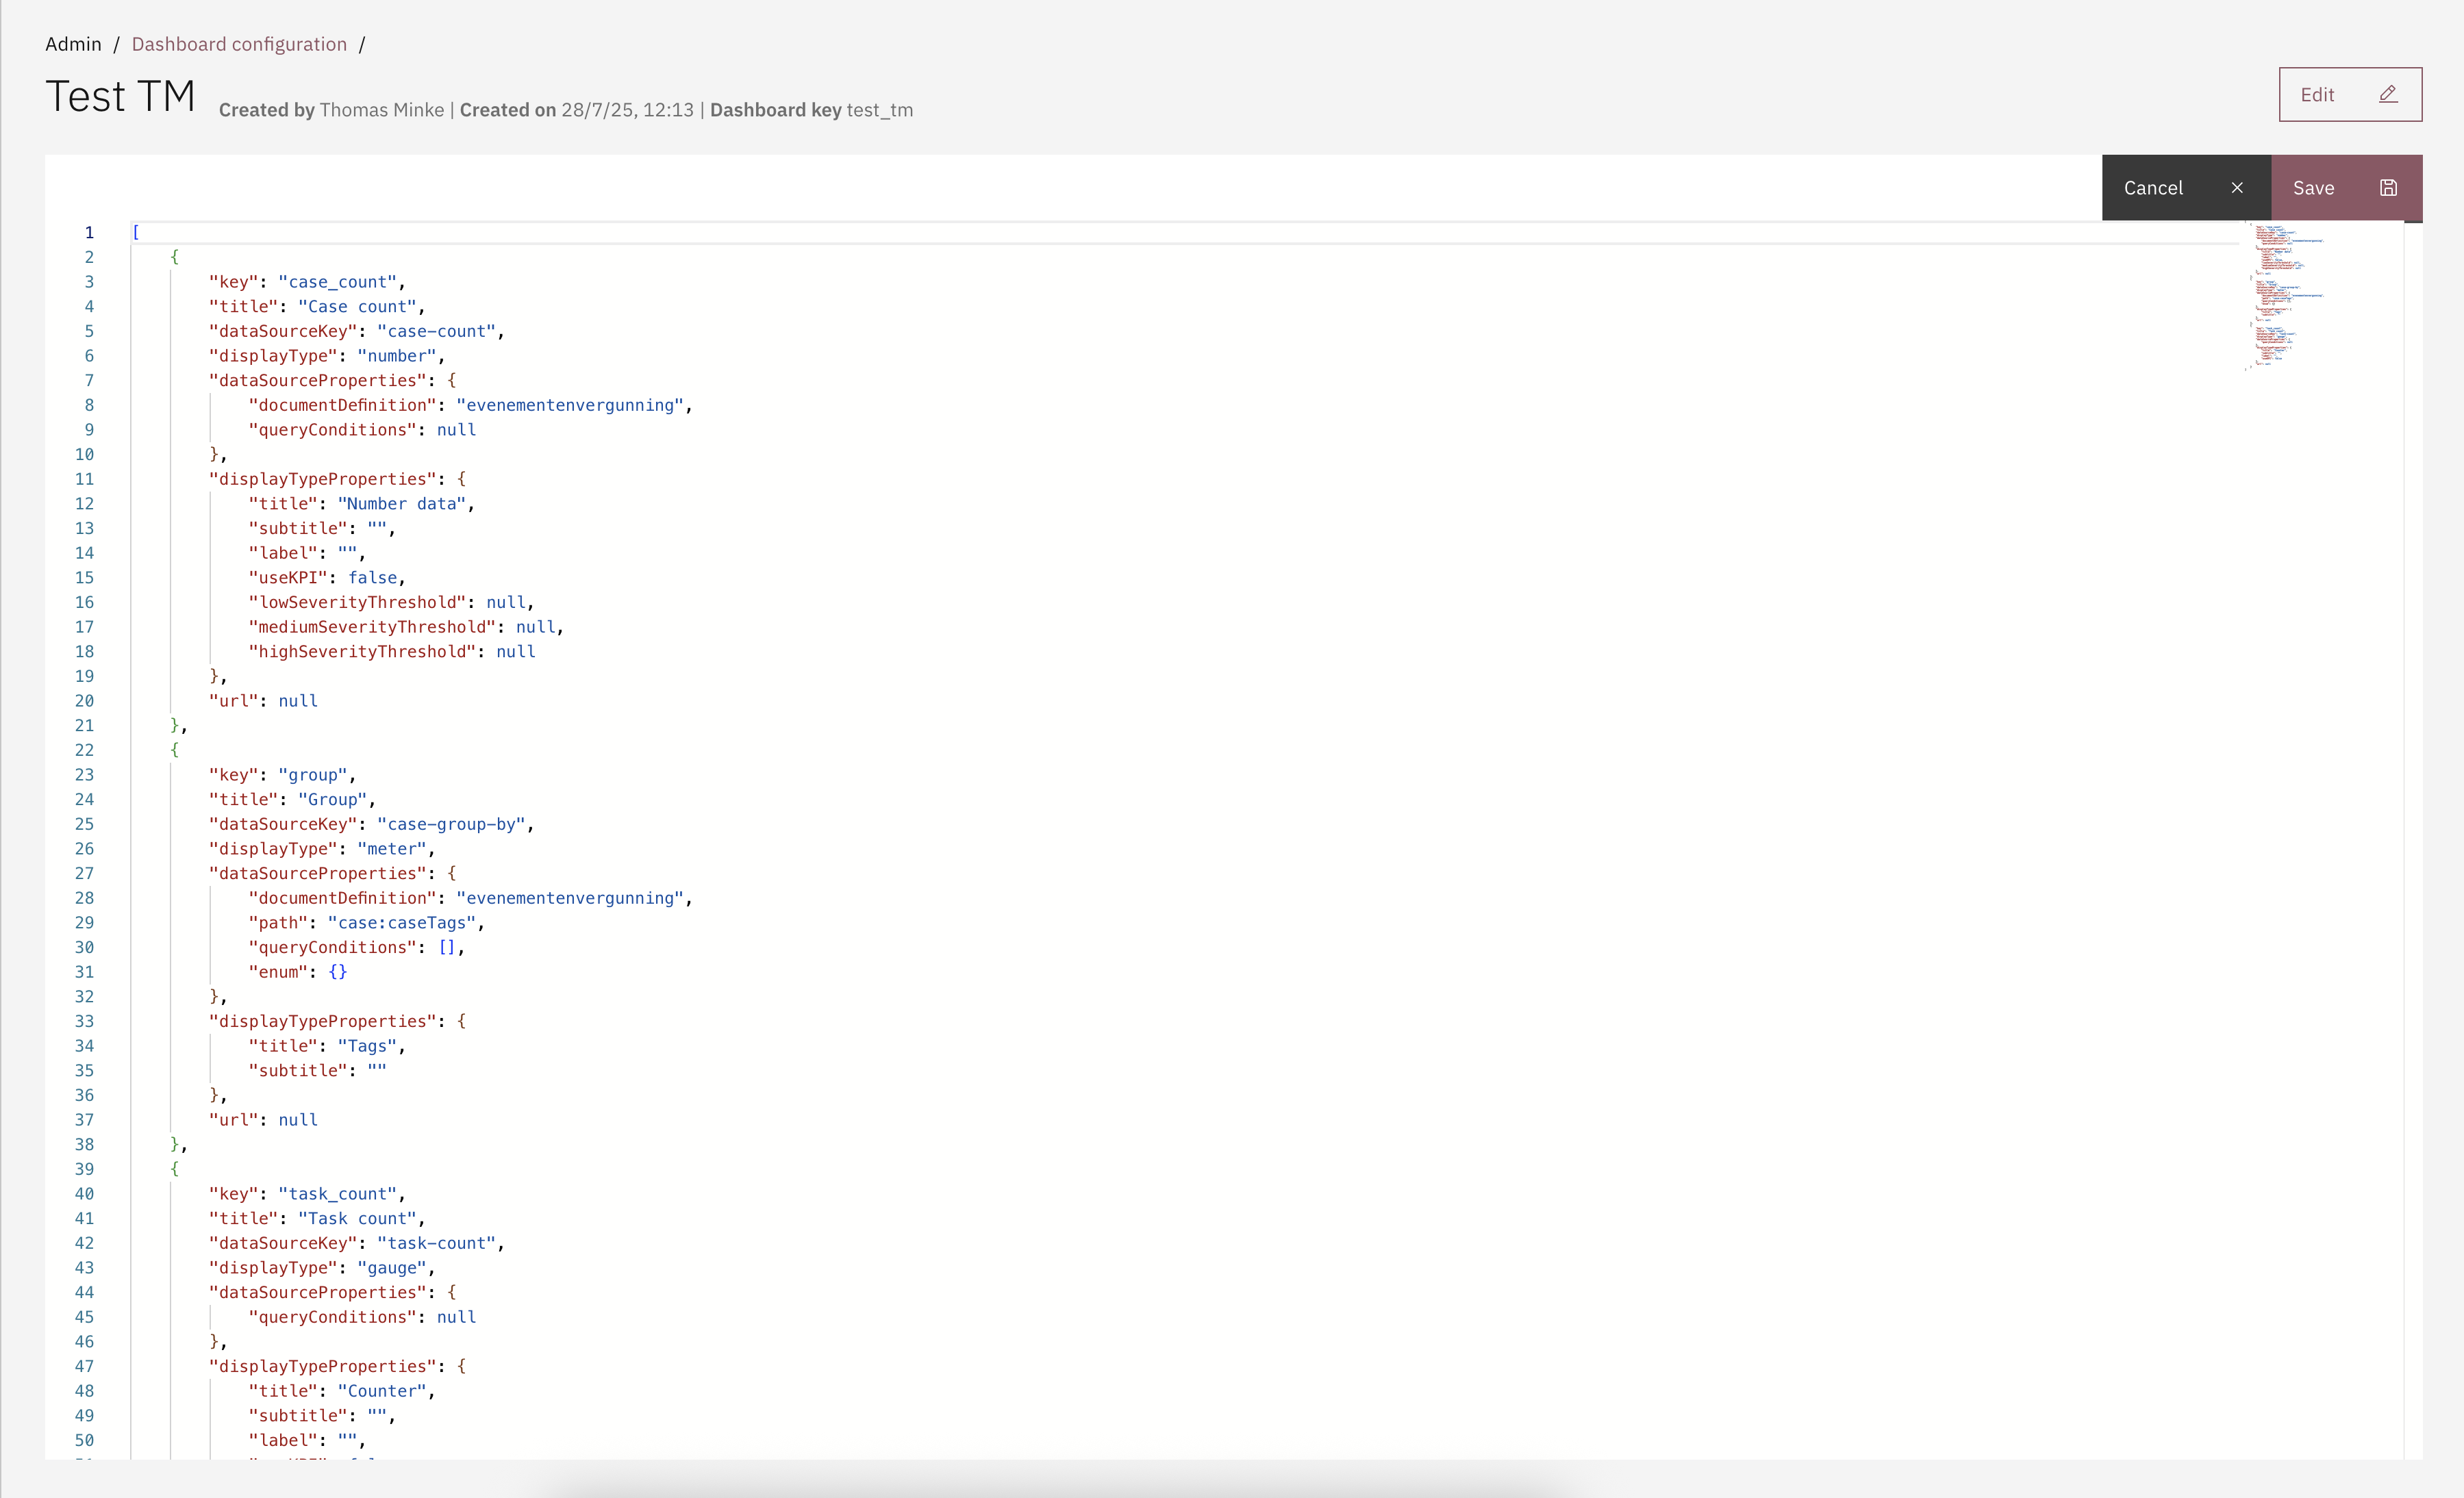
Widgets can also be configured via a JSON editor:
* Go to the `Admin` menu
* Go to the `Dashboards` menu
* Select a dashboard
* Click on **The code icon**
* Click on **Edit**
* Configure a new widget, delete a widget or edit an existing widget
* Click **Save**
This allows for faster editing of widgets or exchanging different dashboard widgets configurations throughout different environments.
## Access control
Access to dashboards can be configured through access control. More information about access control can be found in the [access control documentation](/valtimo-docs-v3/features/access-control.md).
### Resources and actions
Resource type
Action
Effect
com.ritense.dashboard.domain.Dashboard
view
Allows viewing the data of one dashboard.
view_list
Allows viewing the dashboard tabs.
### Examples
Permission to view all dashboards and data