> For the complete documentation index, see [llms.txt](https://docs.valtimo.nl/llms.txt). Markdown versions of documentation pages are available by appending `.md` to page URLs; this page is available as [Markdown](https://docs.valtimo.nl/configuration-guides/cases/case-details/statuses.md).
# Statuses
The Statuses sub-tab manages the internal status labels that can be assigned to cases of this type. Statuses are shown on the case detail page and can be used to filter the case list.
Each status has a name, a color, and an optional retention period that determines when cases with that status are automatically deleted.
{% hint style="warning" %}
Statuses apply to **all versions** of the case type, not just the version you're currently viewing. Updating a status changes it everywhere the case type is used.
{% endhint %}
***
## Configuring statuses
{% stepper %}
{% step %}
Expand **Admin** in the left sidebar
{% endstep %}
{% step %}
Click **Cases** under the Configuration section
{% endstep %}
{% step %}
Click a case definition to open it
{% endstep %}
{% step %}
Click the **Case details** tab, then the **Statuses** sub-tab
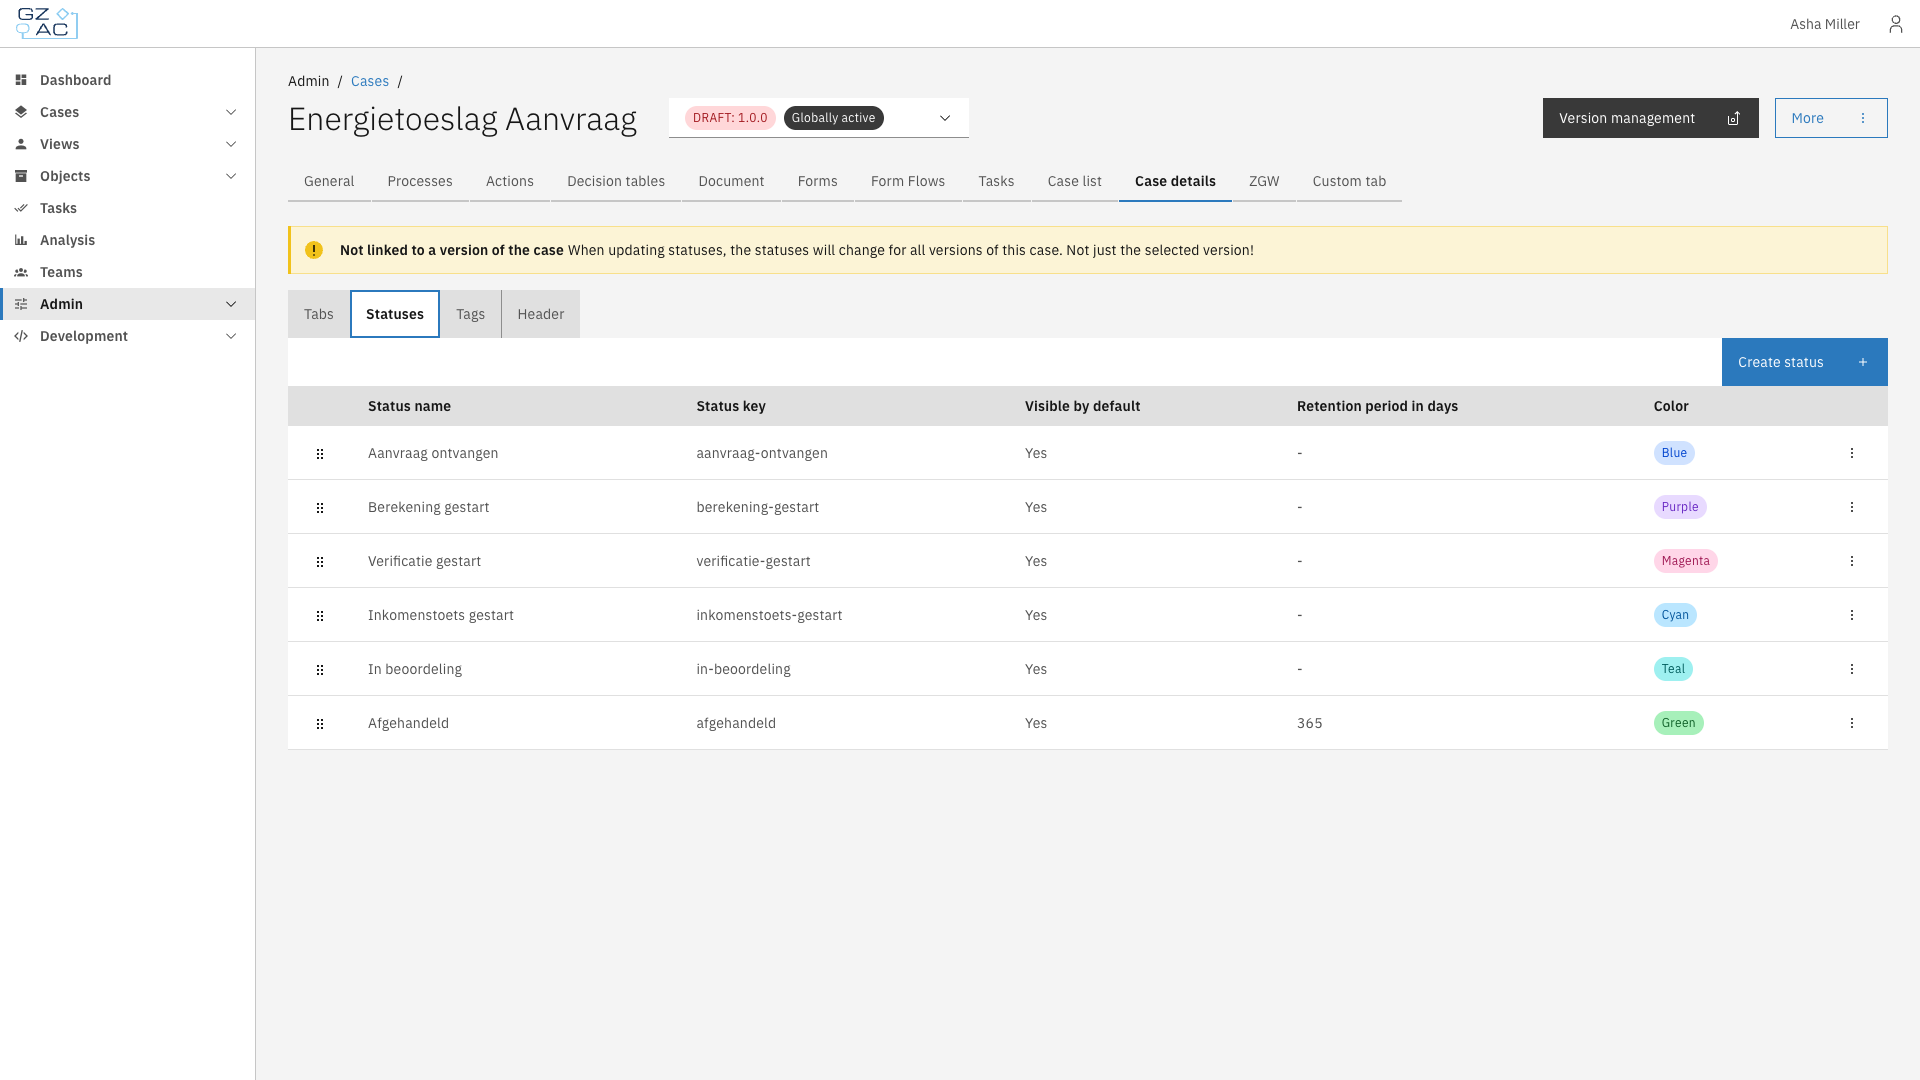
Statuses list
{% endstep %}
{% endstepper %}
The list shows every configured status with its name, key, default visibility, retention period, and color. Drag a row by its handle to reorder statuses.
### Creating a status
{% stepper %}
{% step %}
Click **Create status**
{% endstep %}
{% step %}
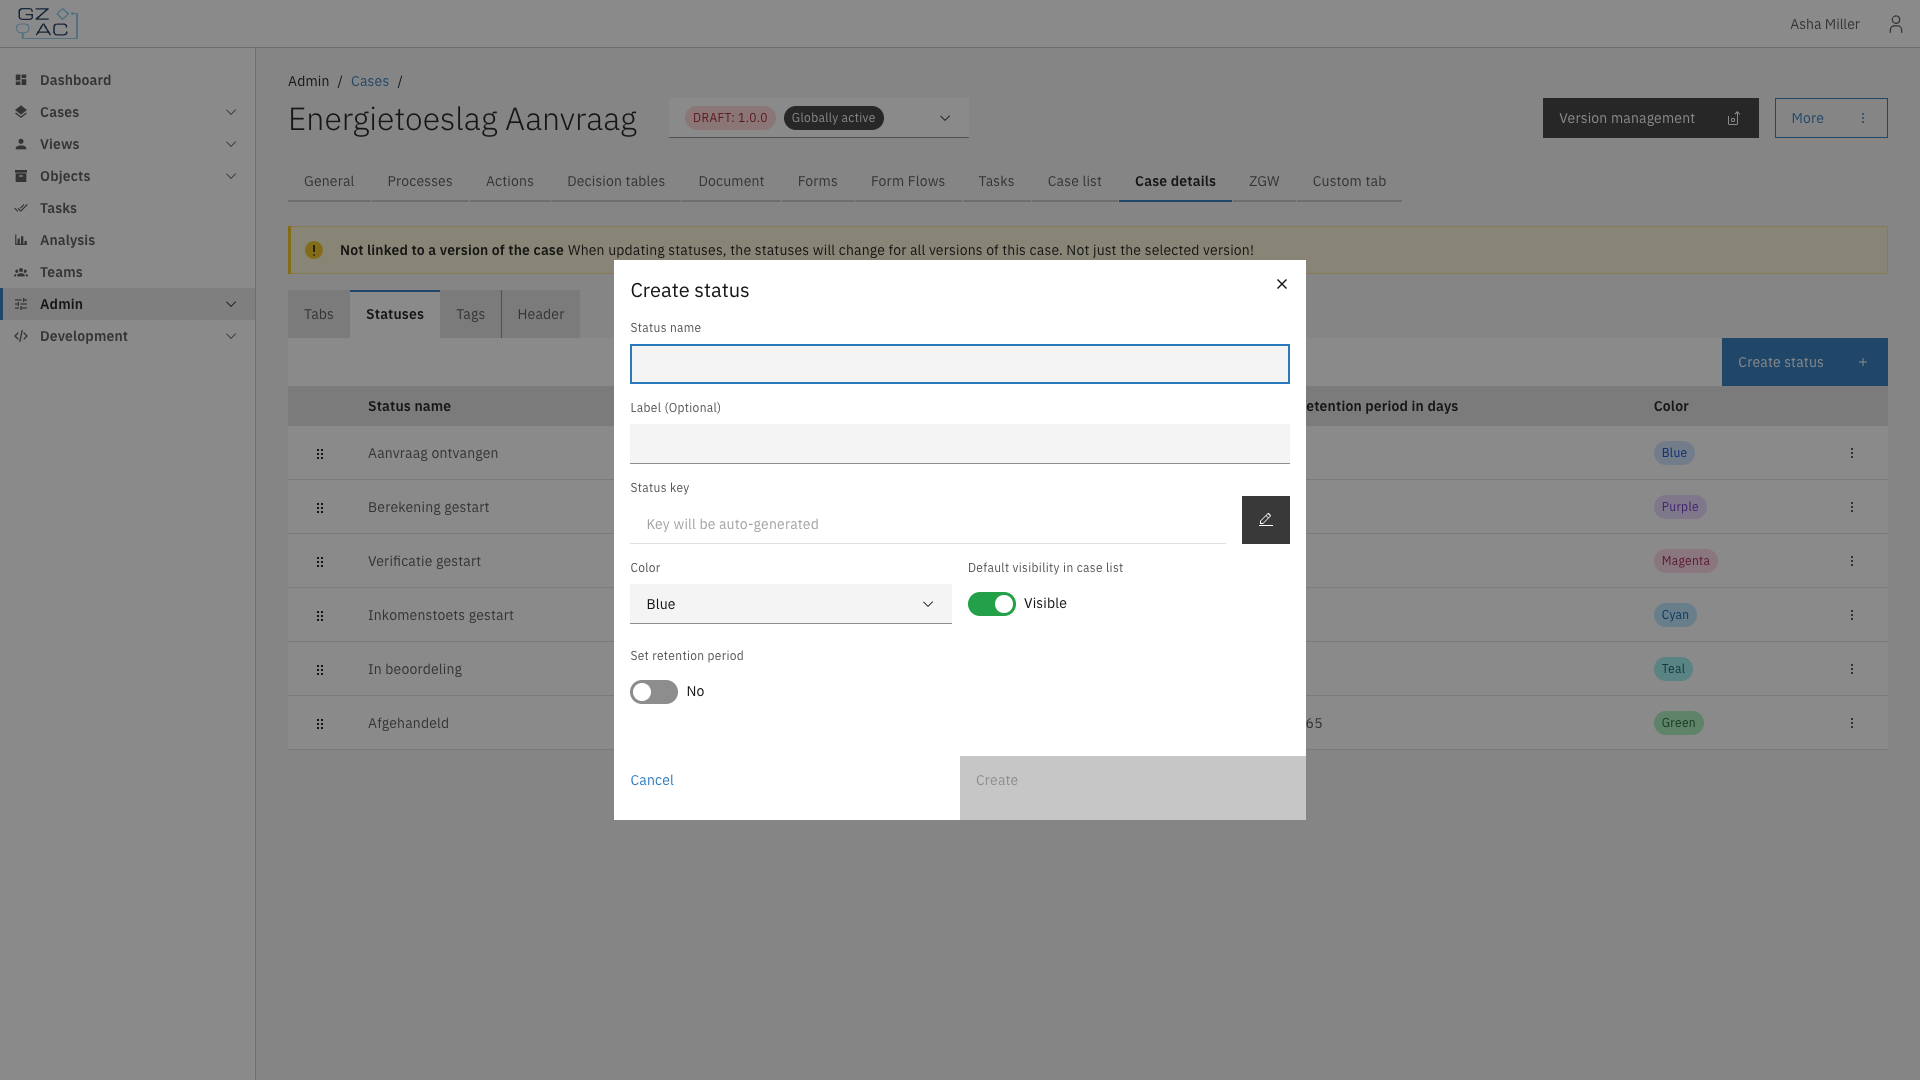
Fill in the status details:
Create status modal
| Property | Description |
| ------------------------------- | -------------------------------------------------------------------------------------------------------------------------------- |
| Status name | Display name for the status. The **Status key** is generated from this automatically; click the pencil icon to edit it manually. |
| Label (Optional) | Alternate text shown instead of the status name, if needed |
| Color | Tag color used to display the status |
| Default visibility in case list | Whether cases with this status are shown in the case list by default |
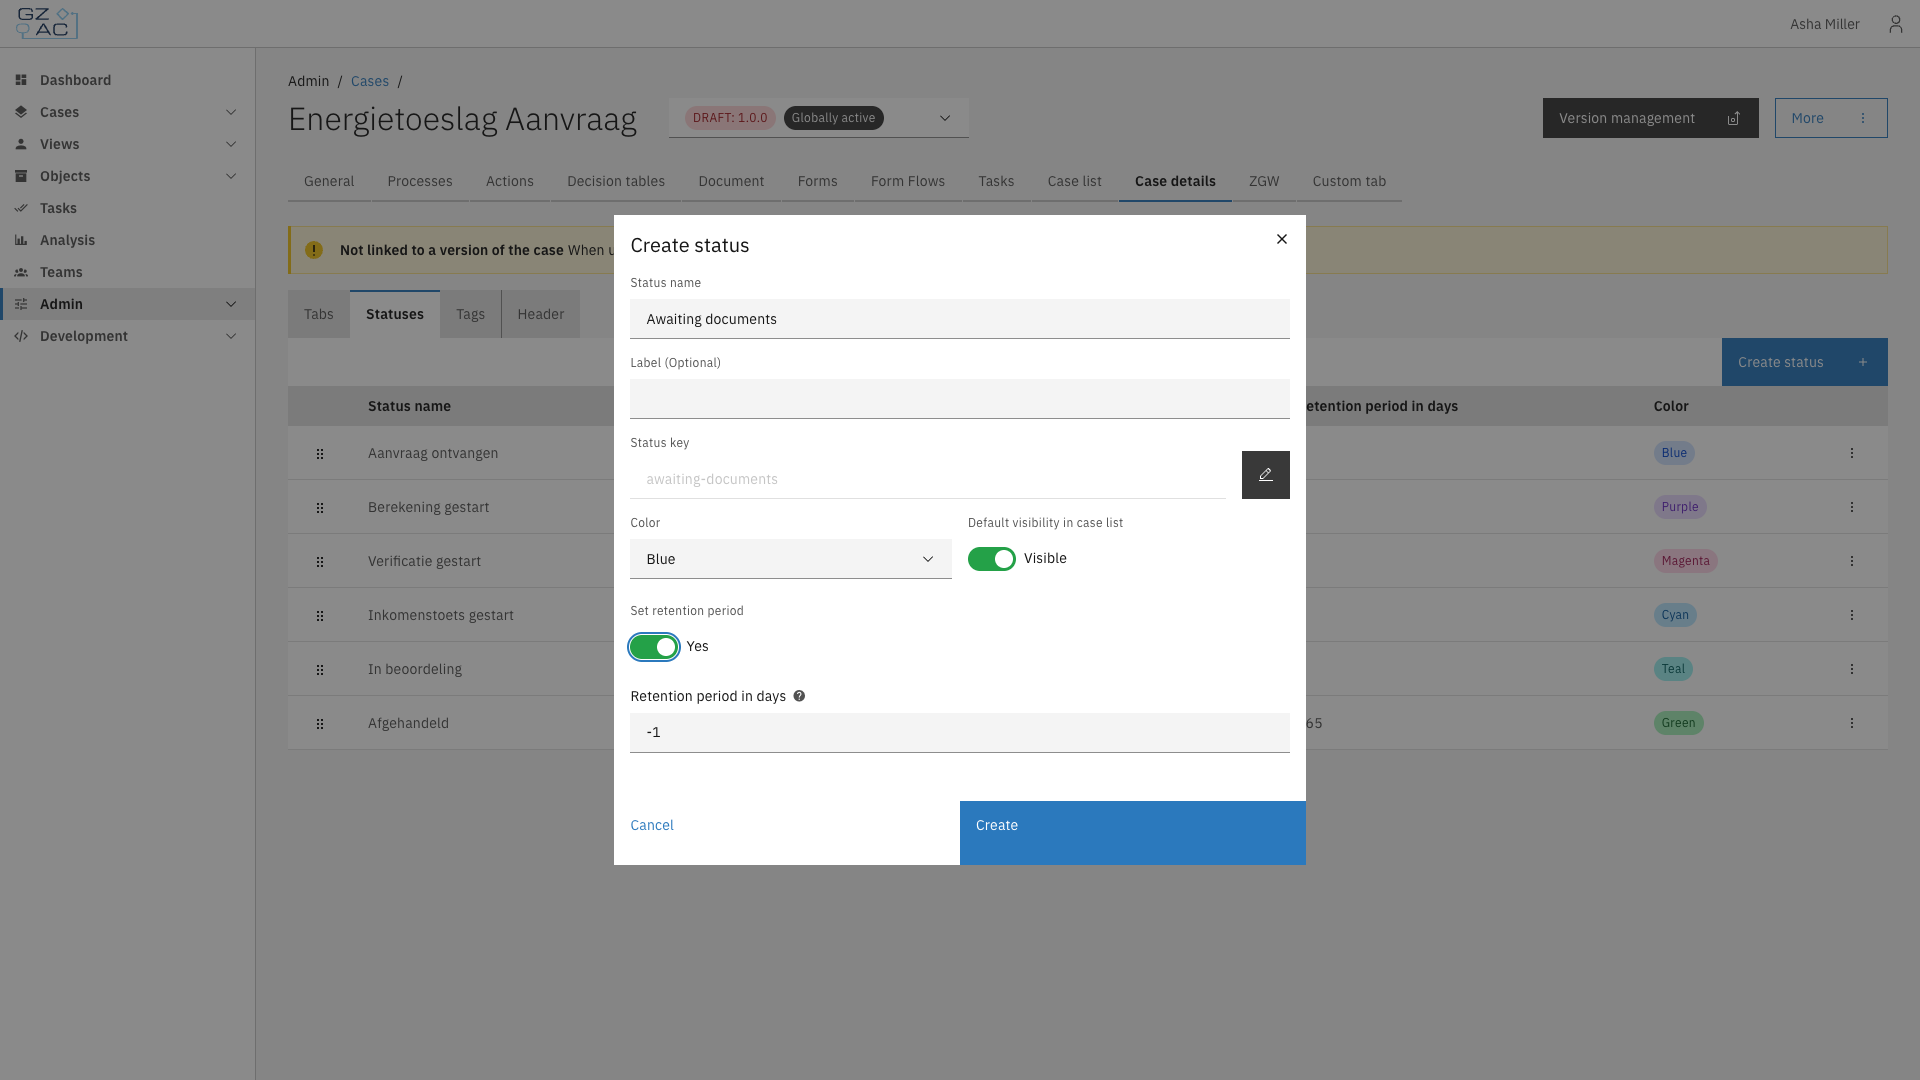
| Set retention period | Enables the **Retention period in days** field |
Create status modal with retention
| Retention period in days | Effect |
| ------------------------ | ----------------------------------------------------------------------------- |
| `0` or higher | The case is automatically deleted this many days after reaching the status |
| `-1` (default) | No retention period — the case is never automatically deleted for this status |
| {% endstep %} | |
{% step %}
Click **Create**
{% endstep %}
{% endstepper %}
{% hint style="info" %}
Changing the retention period on an existing status does not retroactively update cases that already have that status.
{% endhint %}
### Editing or deleting a status
{% stepper %}
{% step %}
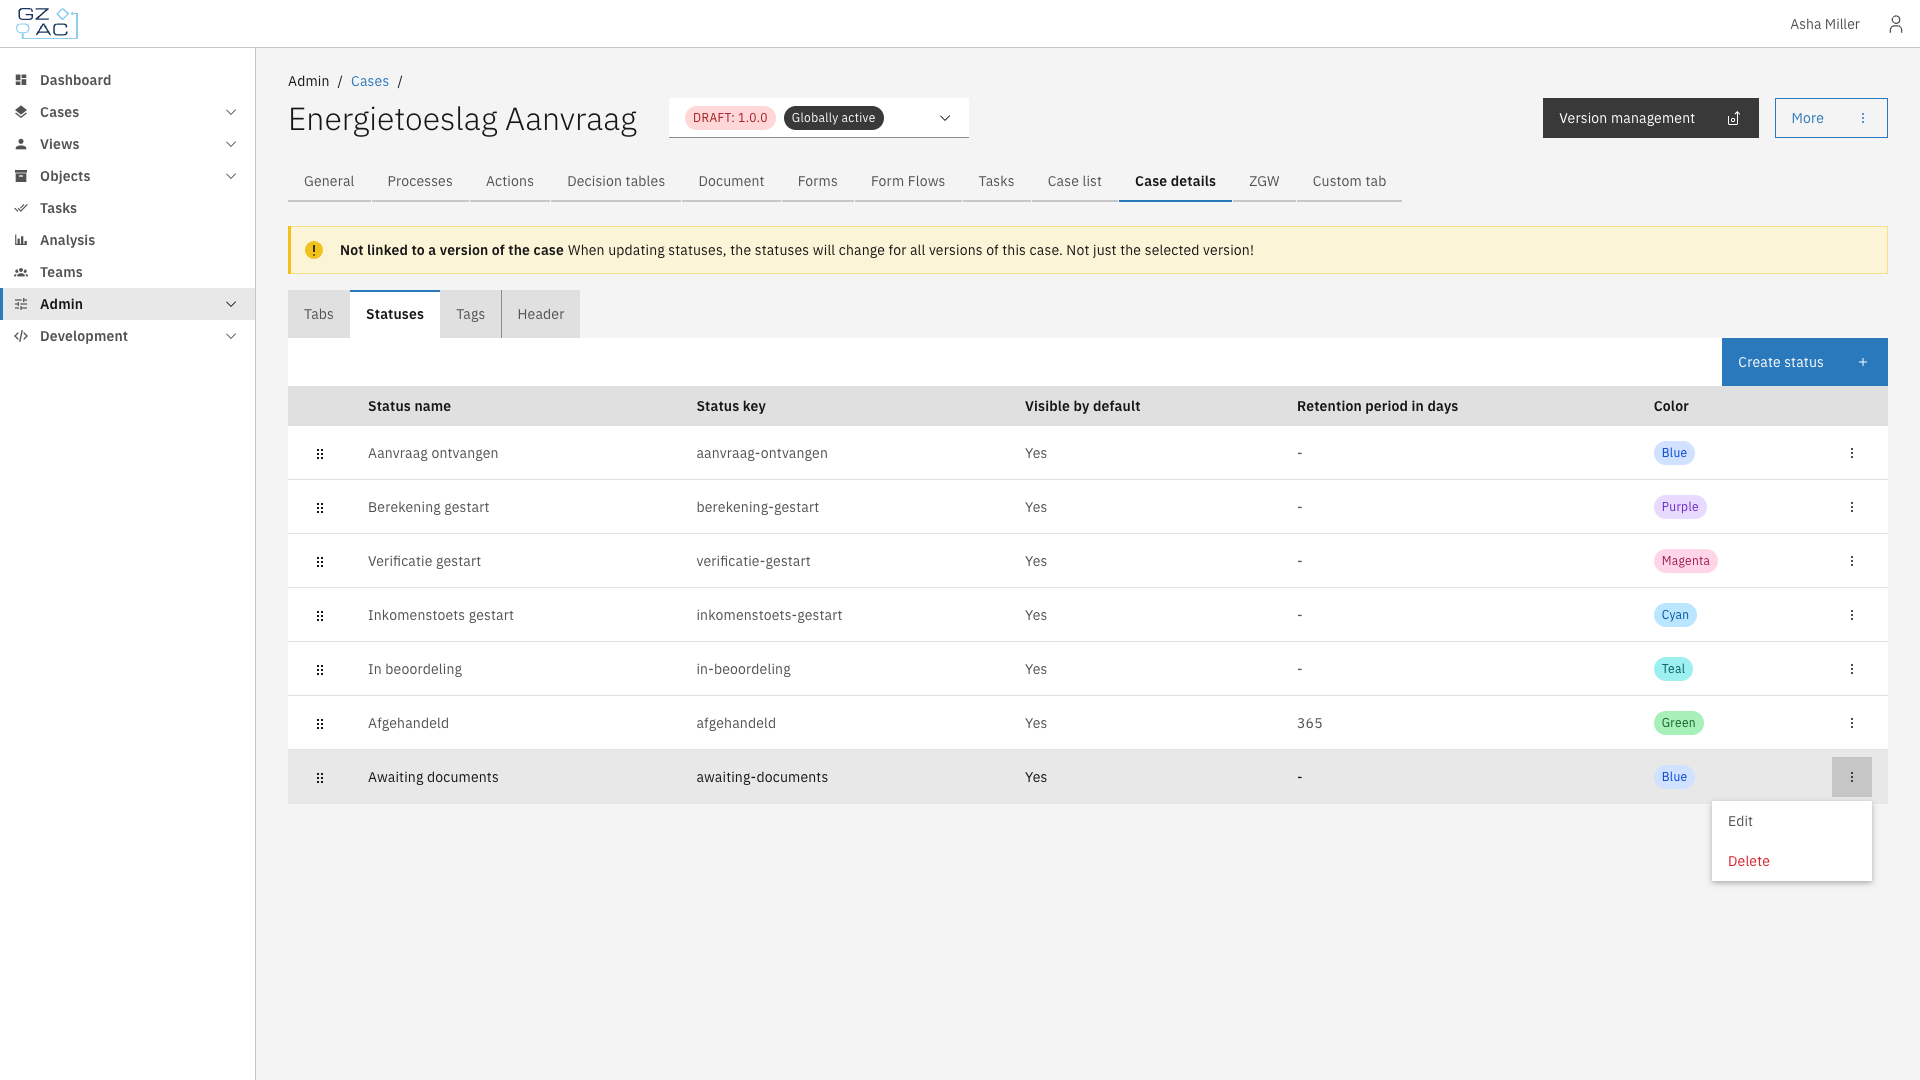
Click a row, or use its overflow menu (⋮), to **Edit** or **Delete** a status
Row overflow menu
{% endstep %}
{% step %}
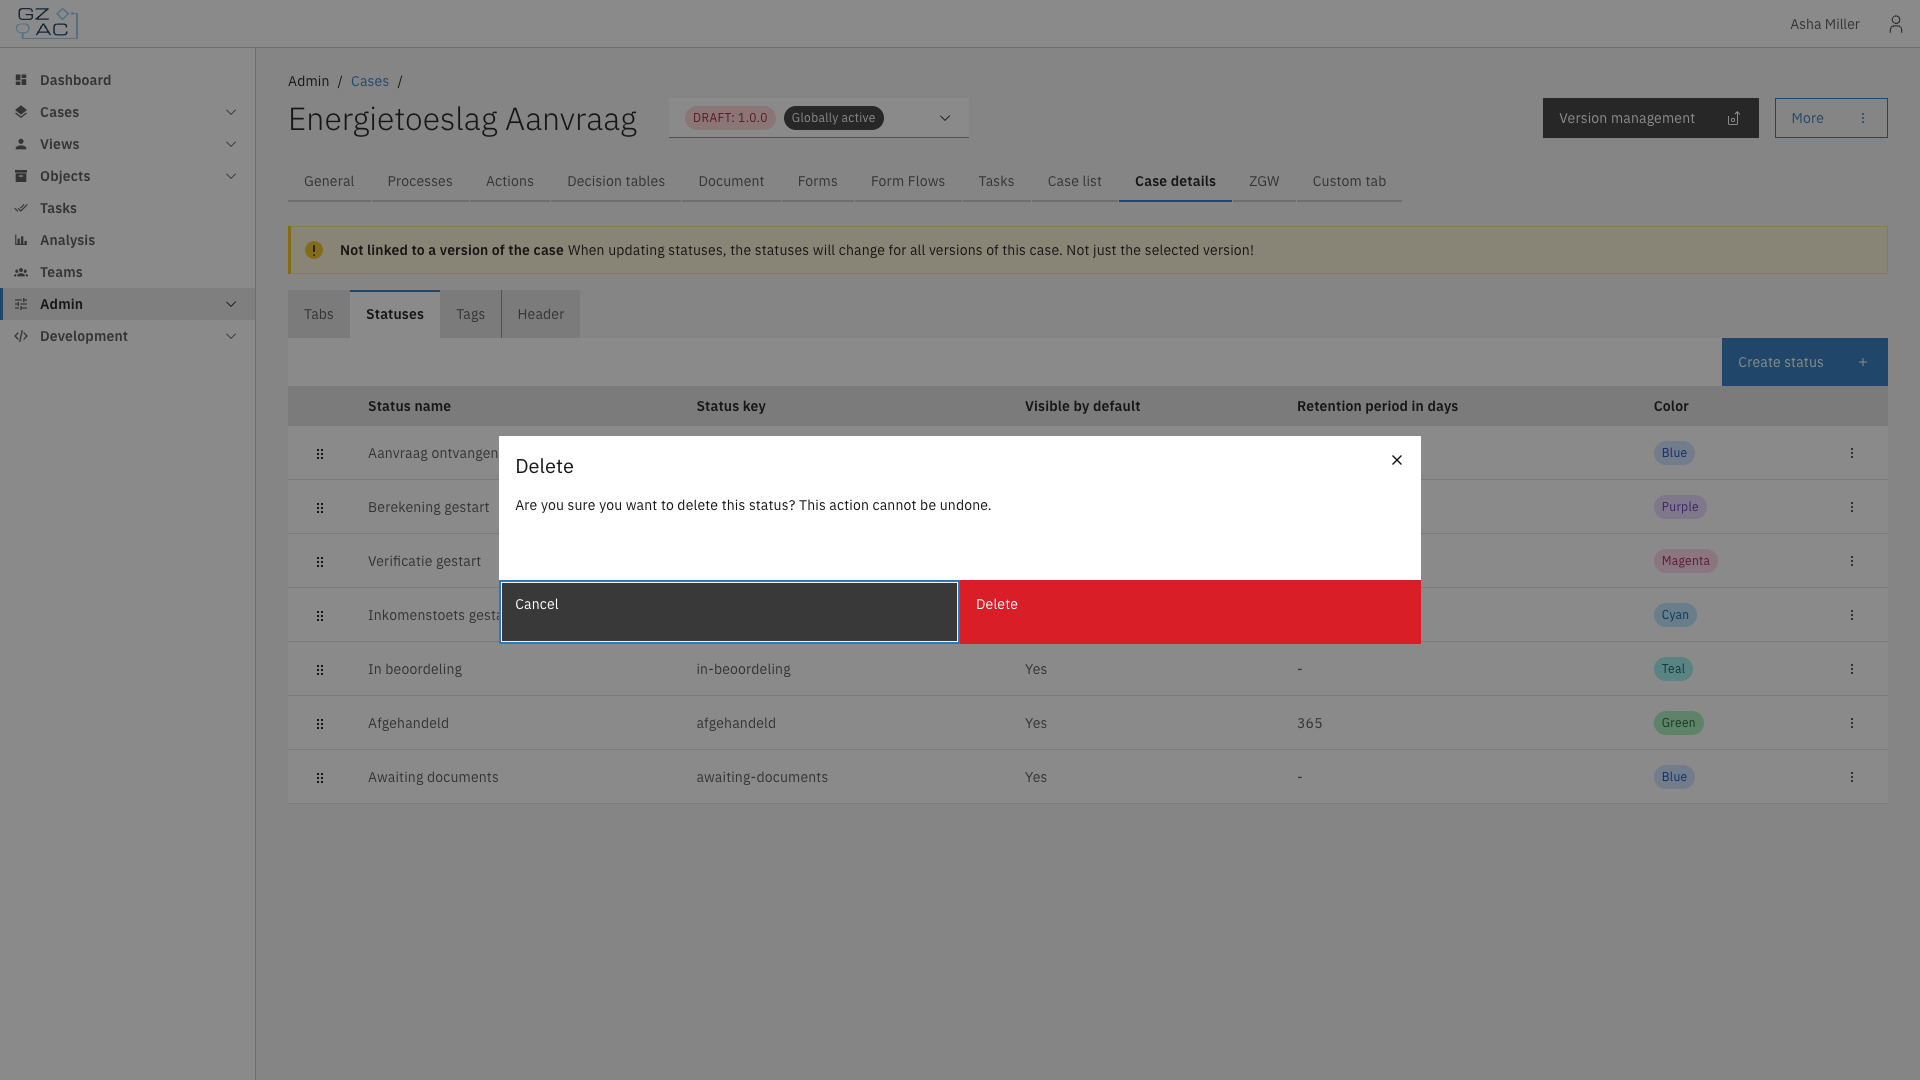
Deleting a status requires confirmation:
Delete confirmation modal
{% endstep %}
{% endstepper %}
{% hint style="warning" %}
Deleting a status cannot be undone. Cases already assigned that status keep it as an unrecognized value.
{% endhint %}