For the complete documentation index, see llms.txt. This page is also available as Markdown.

πŸ—ƒοΈCases

The Cases configuration area lets you manage case definitions β€” the templates that define how different types of cases behave in your Valtimo implementation. Each case definition specifies its document structure, linked processes, forms, and how it appears to end users.

From here you can configure:

  • General β€” Case handler settings and external start form

  • Processes β€” BPMN process definitions linked to the case

  • Actions β€” Startable items (processes and building blocks) users can trigger from a case

  • Decision tables β€” DMN decision tables for automated decisions

  • Document β€” JSON schema defining the case's data structure

  • Forms β€” Form definitions available for the case

  • Form flows β€” Multi-step form sequences

  • Tasks β€” Task list column and search field configuration

  • Case list β€” End-user case list columns and search fields

  • Case details β€” Tabs, statuses, tags, and header configuration

  • ZGW β€” Dutch government standards integration


Configuring cases

1

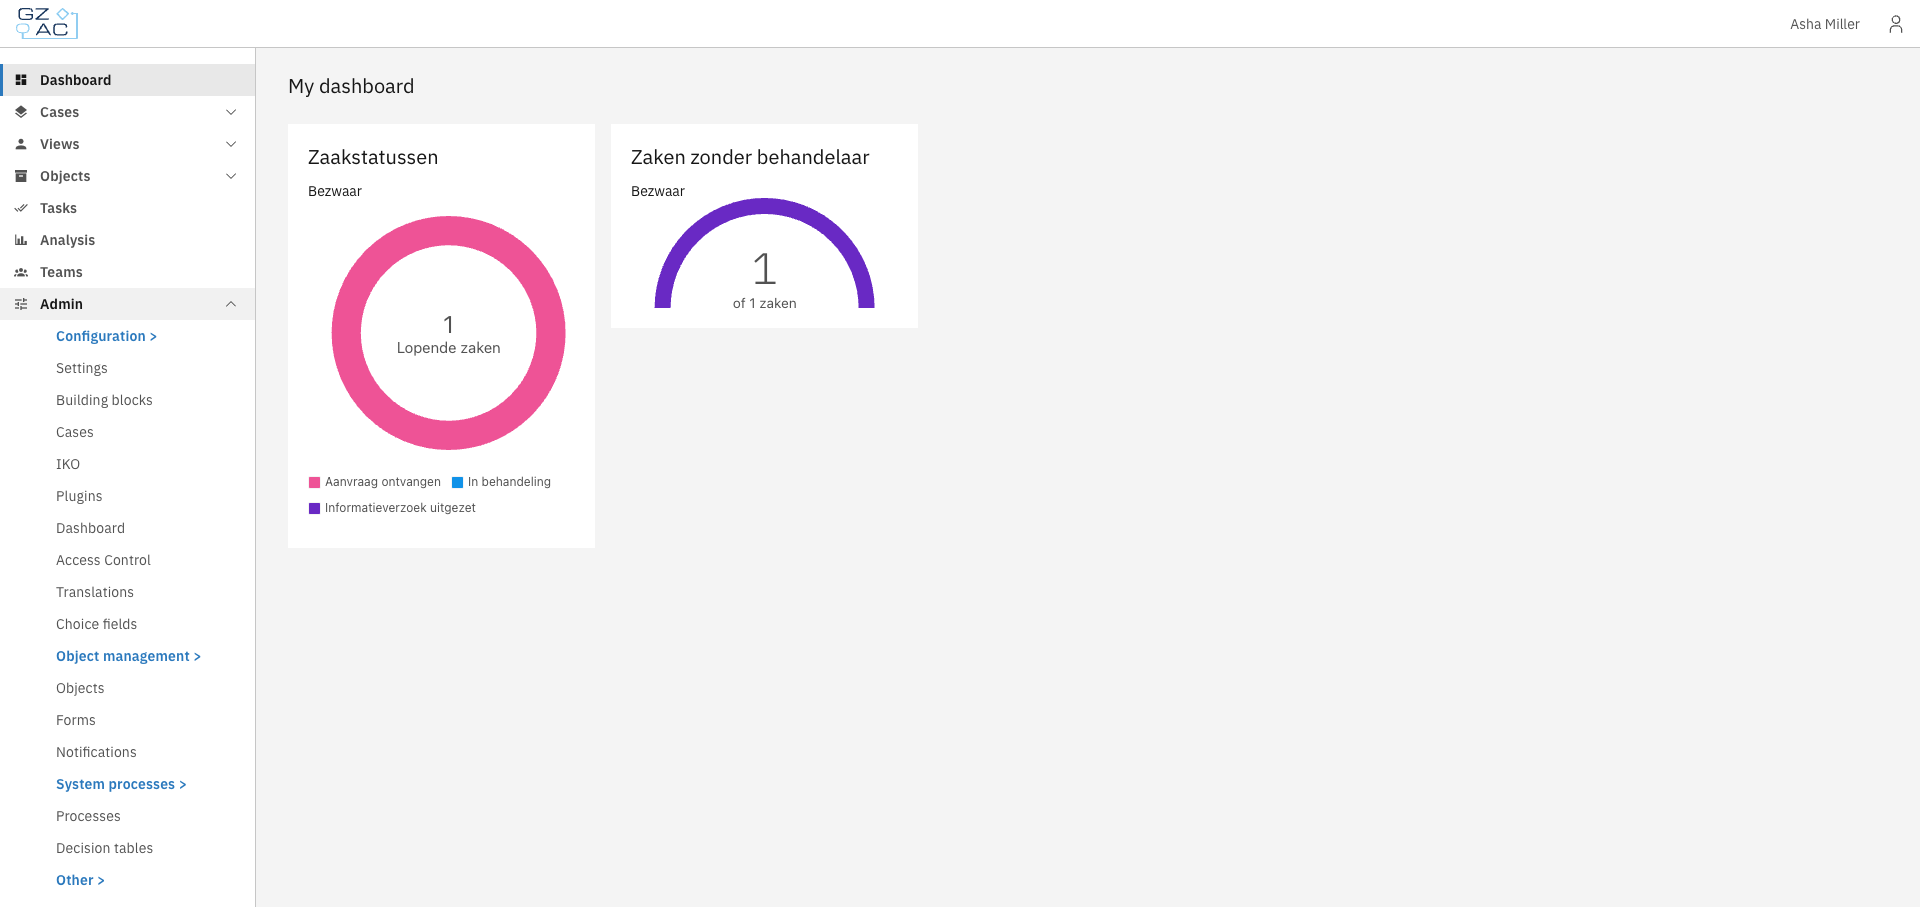
Expand Admin in the left sidebar

2

Click Cases under the Configuration section

Admin sidebar with Cases navigation
3

Click a case row to open its configuration

4

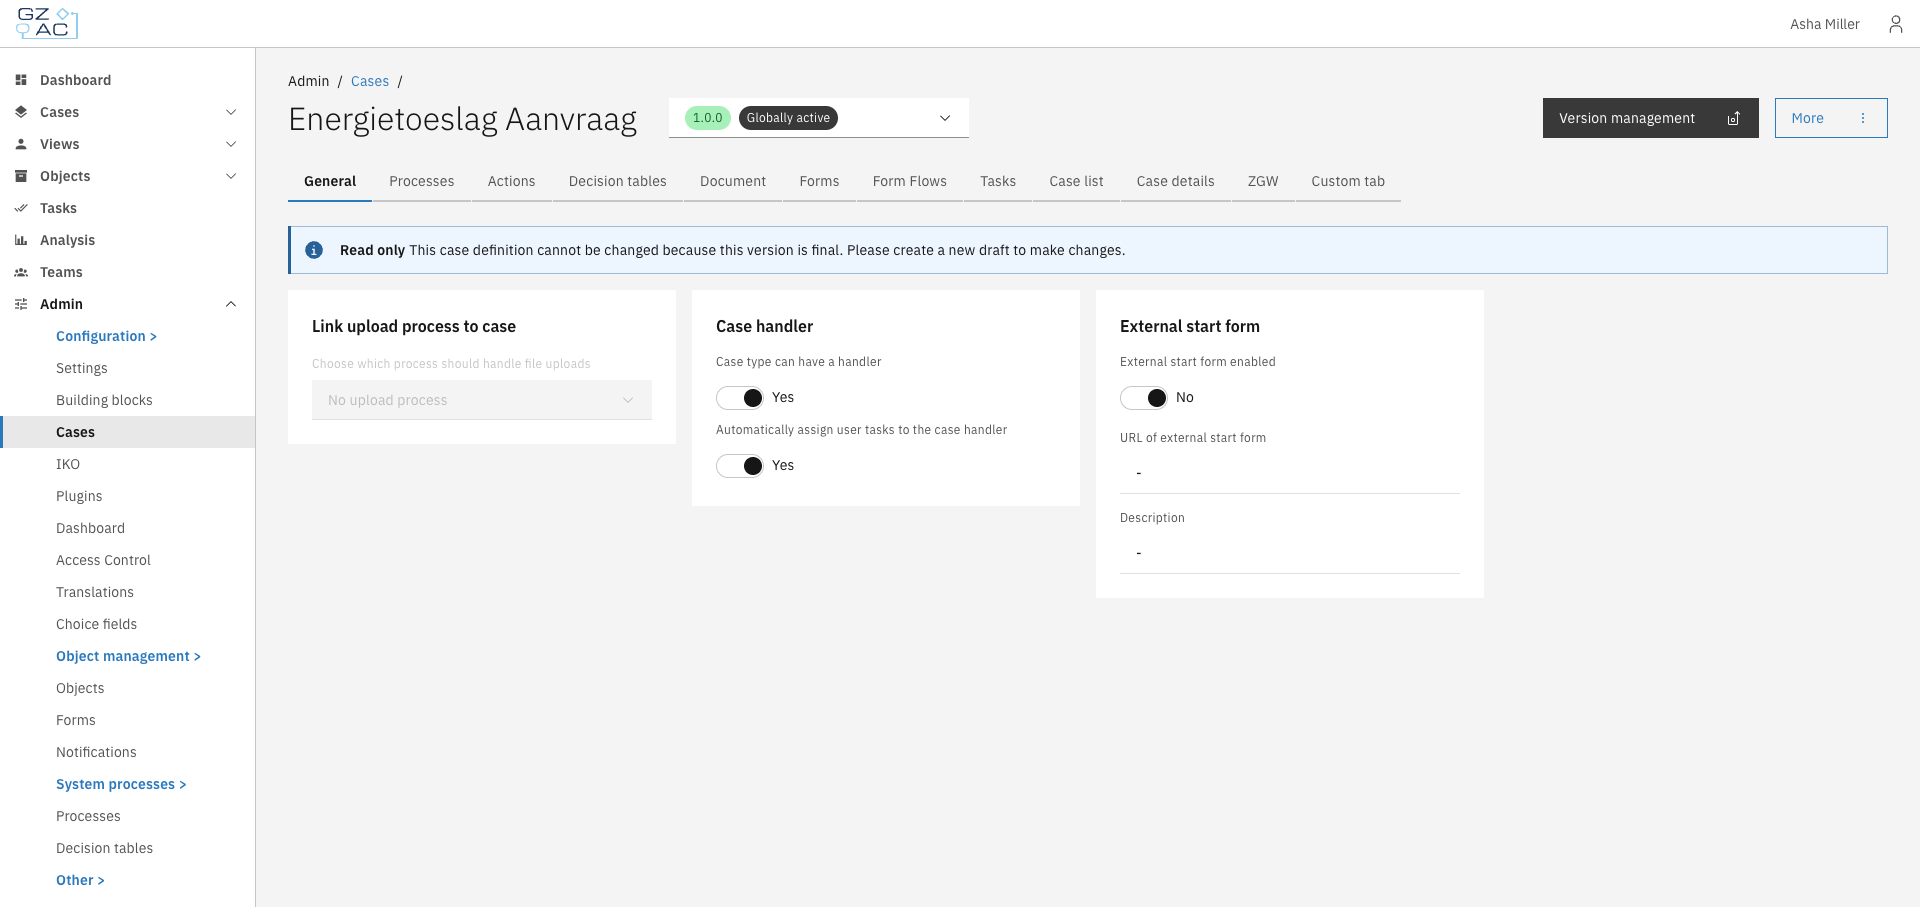
Use the tabs to navigate between configuration areas

Case configuration tabs

The cases list shows all defined case types with their name, key, current version, and status. Cases marked "Needs configuration" have unresolved configuration issues that should be addressed.

Creating a case

To create a new case definition from scratch:

1

Click the Create button in the toolbar

2

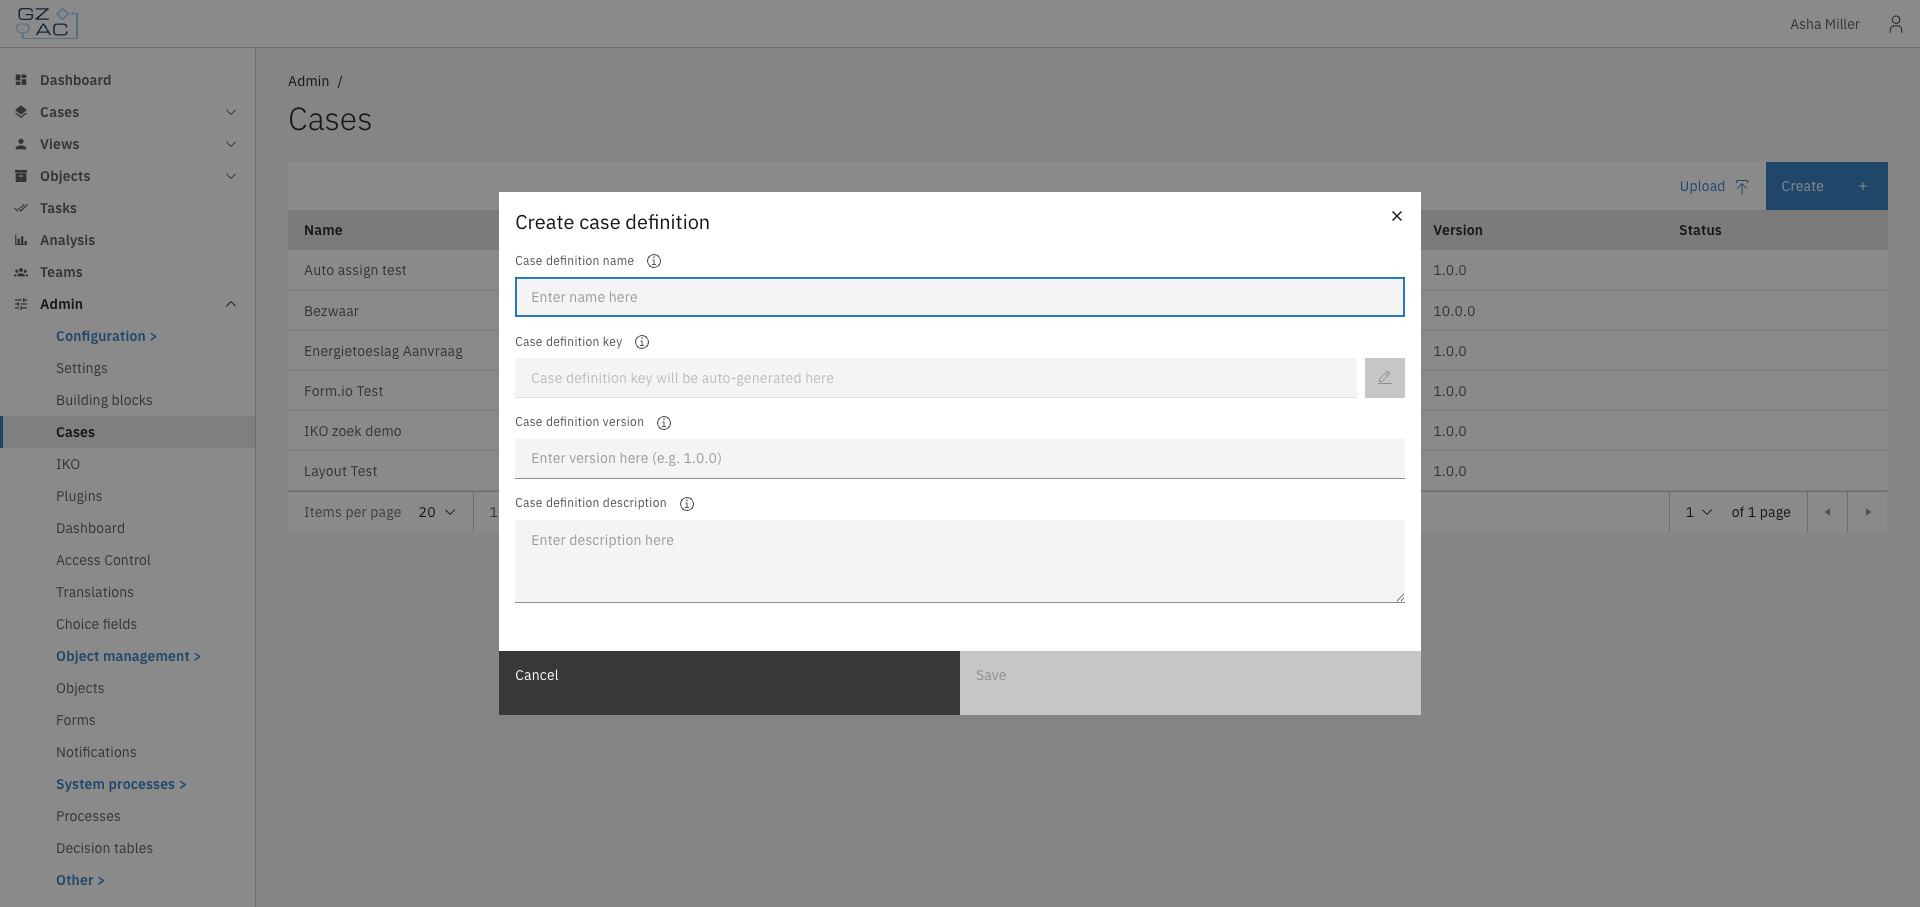
Fill in the case definition details:

Create case definition modal
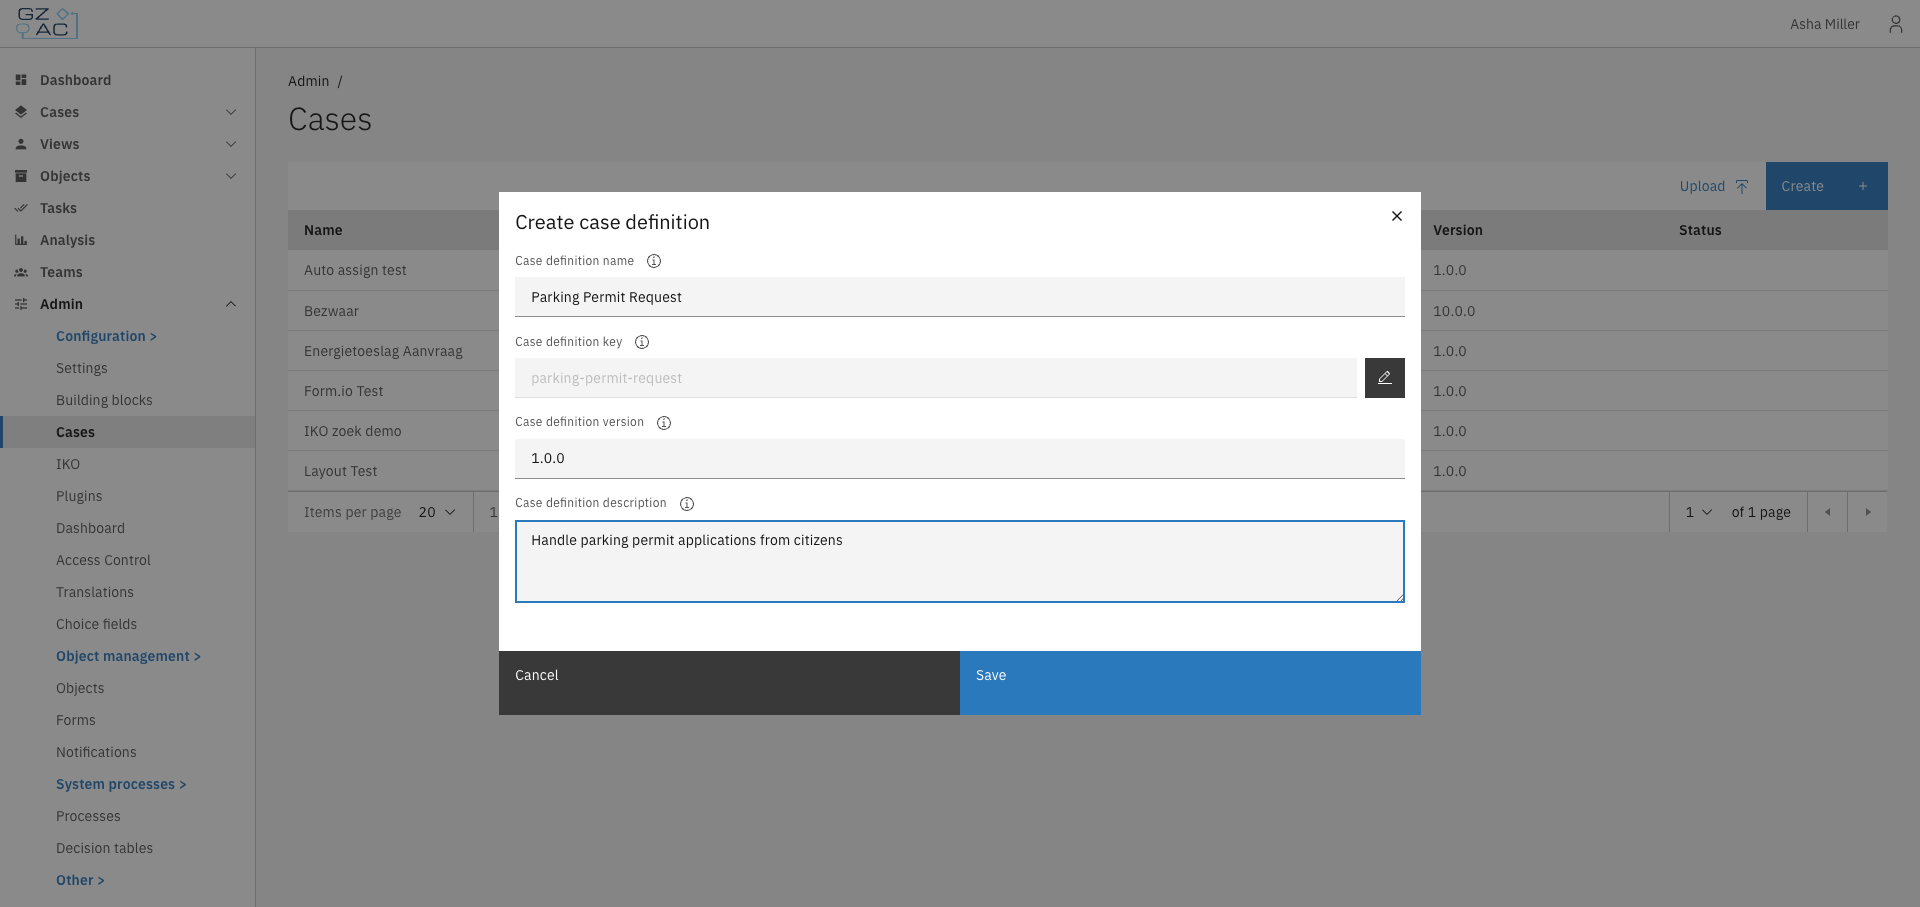
  • Name β€” Display name for the case definition

  • Key β€” Unique identifier (auto-generated from name, can be edited)

  • Version β€” Semantic version number (e.g., 1.0.0)

  • Description β€” Optional description of what this case type handles

Create case definition with filled fields
3

Click Save to create the case definition

The new case opens in draft mode, ready for configuration.

Uploading a case

To import an existing case definition package:

1

Click the Upload button in the toolbar

2

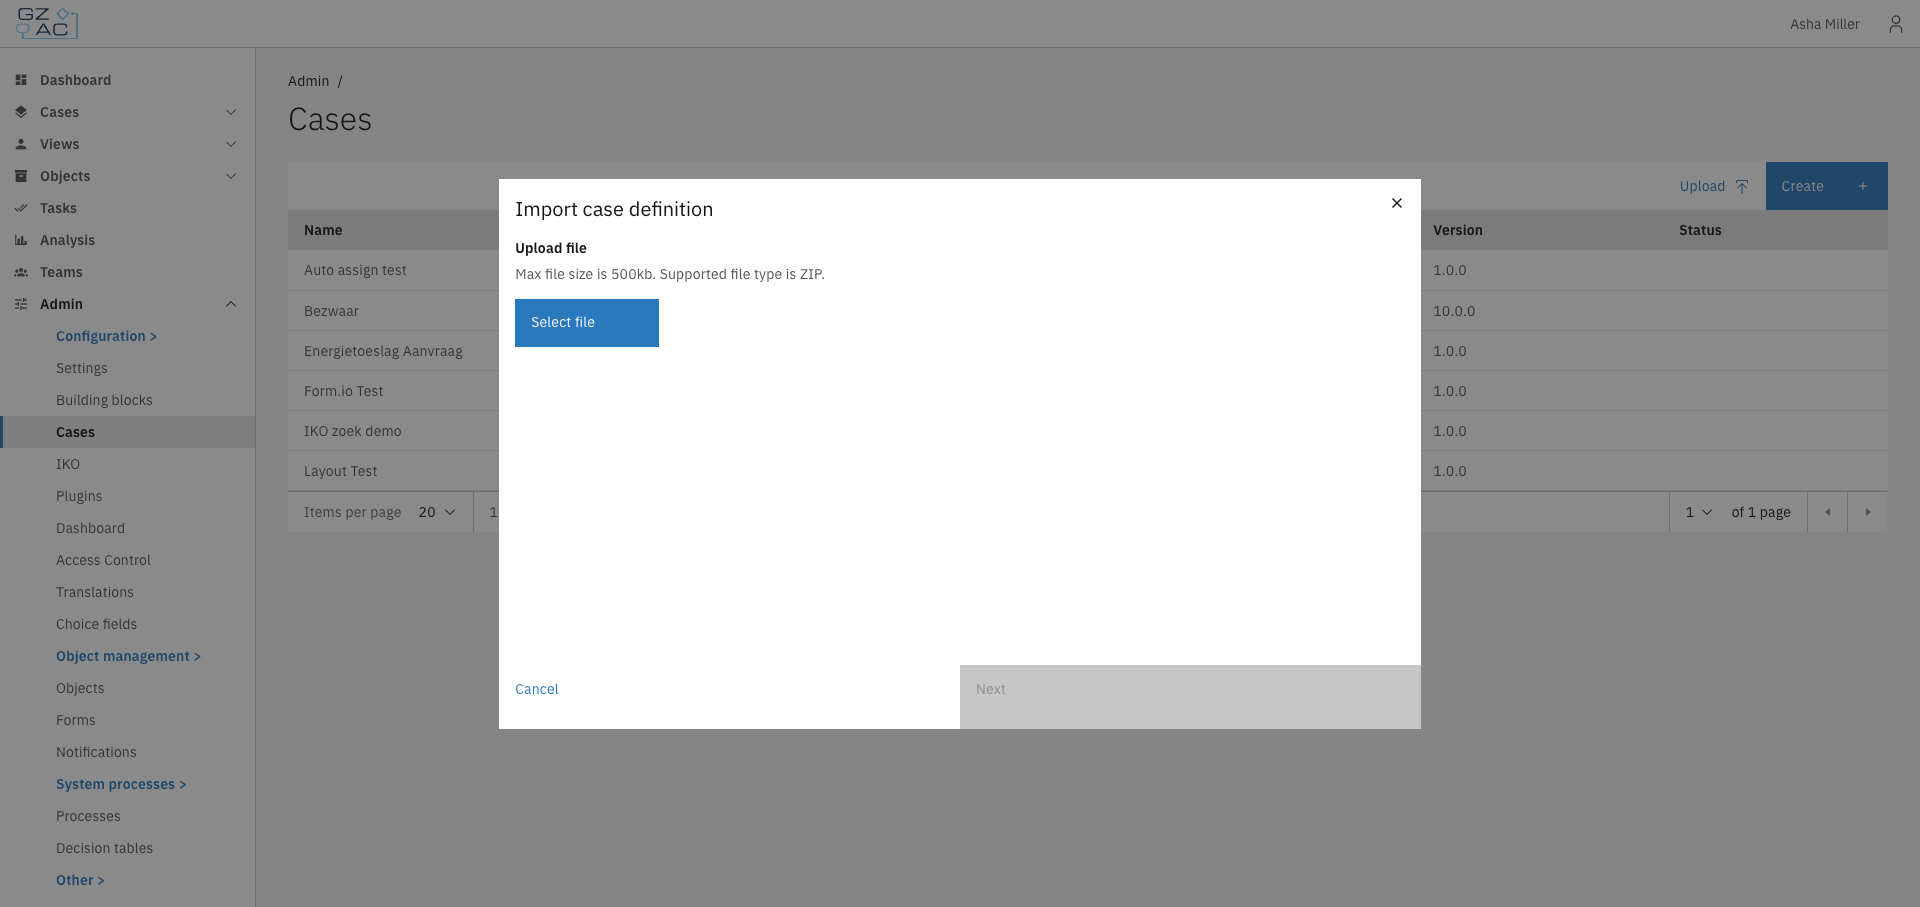
Select a .zip file containing the case definition

Upload case definition file select
3

Configure the import settings:

  • Review or modify the case name and key

  • Map plugin configurations if the package uses plugins

4

Click Next to proceed through the wizard steps

5

Click Start upload to import the case definition


Version management

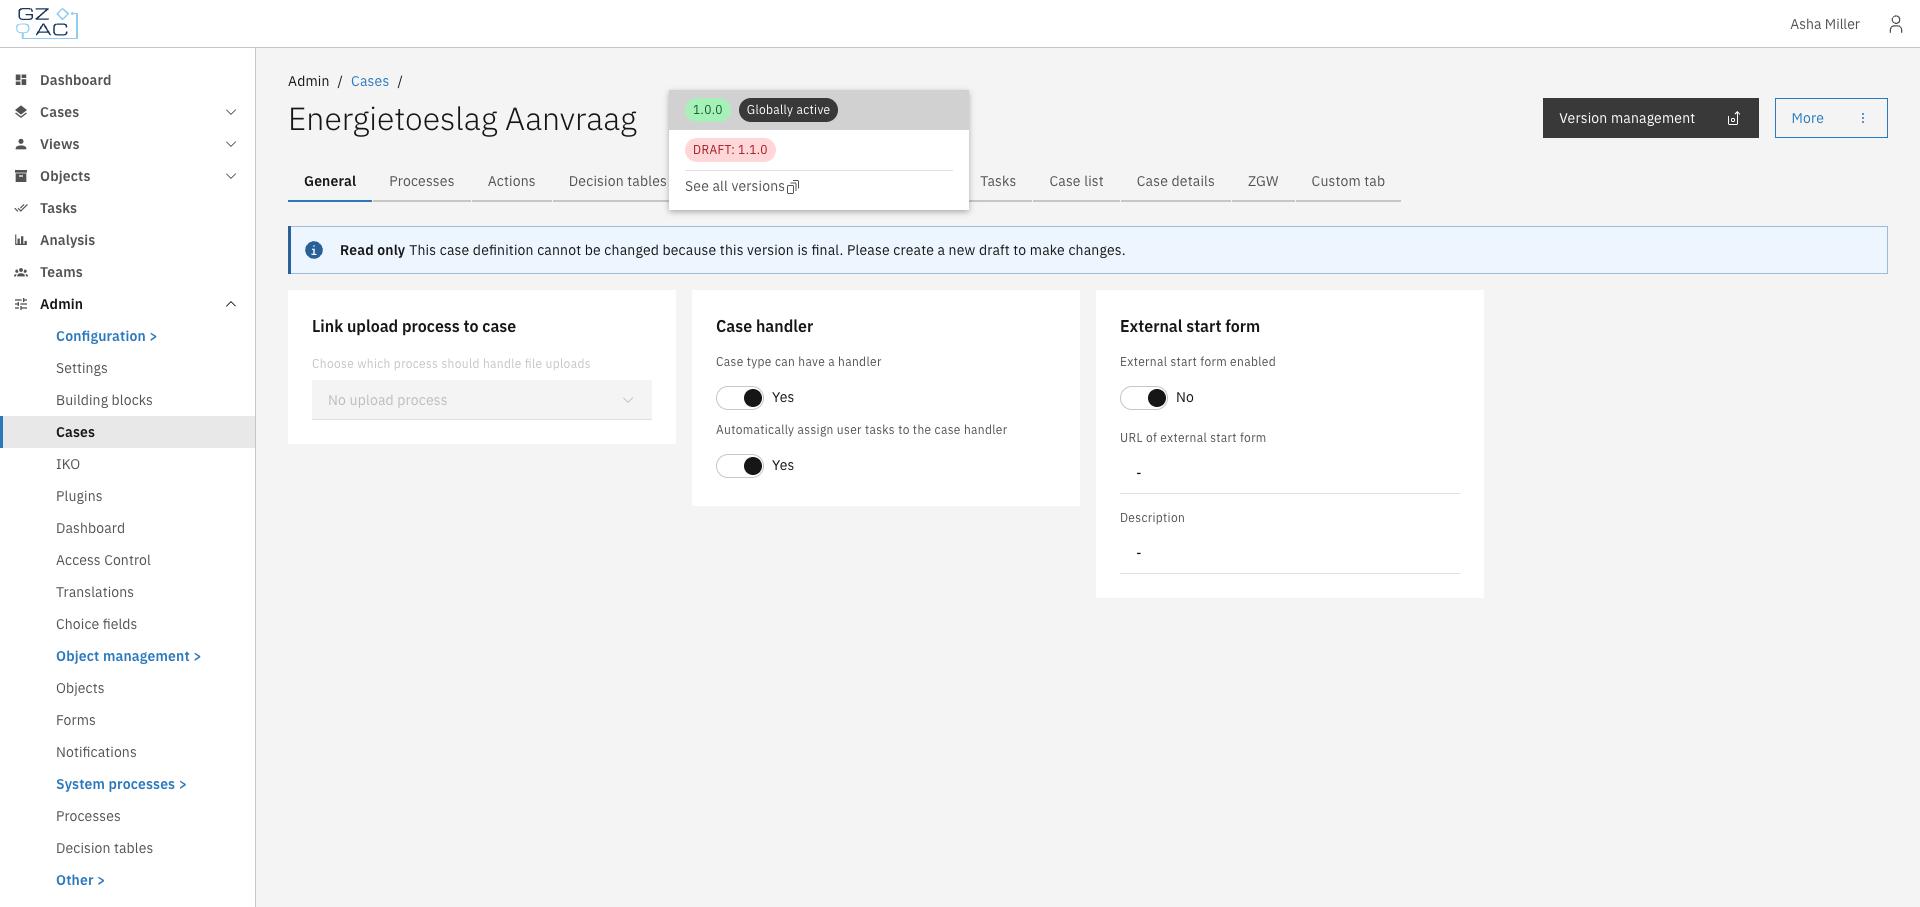
Case definitions support versioning. The version selector in the header shows the current version and allows switching between versions.

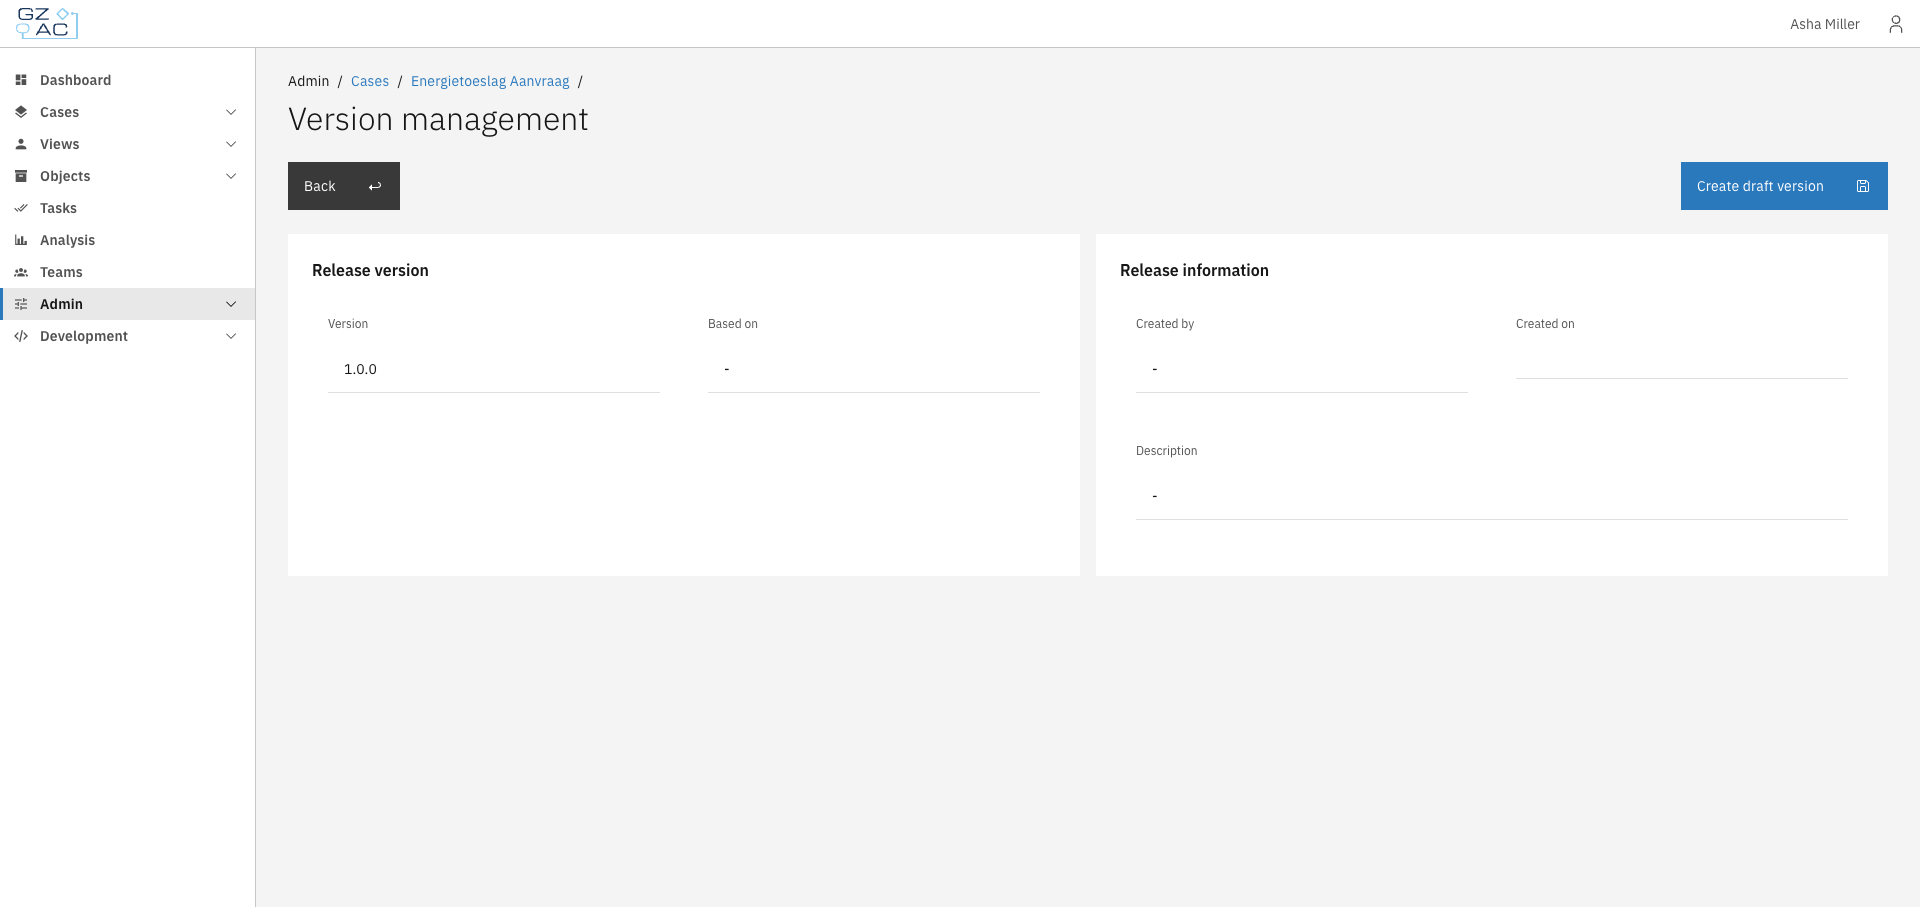
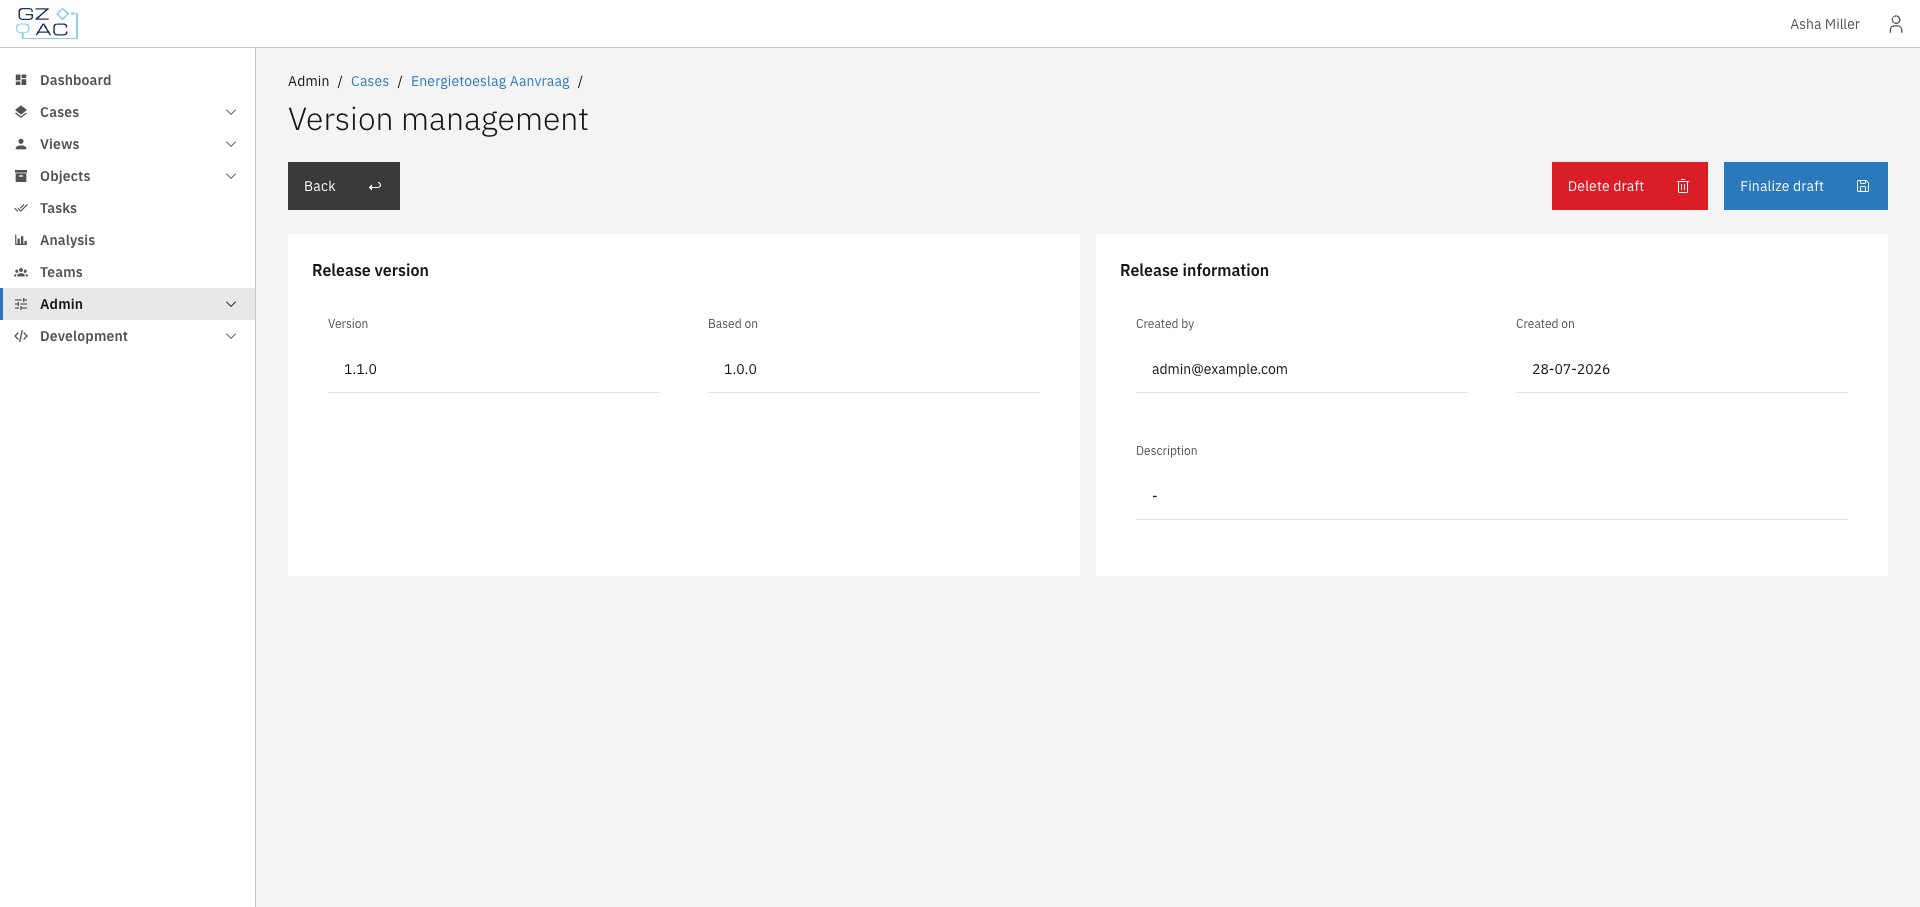
Click the Version management button to access version management options.The deployment page shows version information and provides actions depending on the version status:

Version selector dropdown

For published versions

  • Create draft version β€” Create a new draft version based on this published version

Published version deployment

For draft versions

  • Finalize draft β€” Publish the draft version (makes it available for new cases)

  • Delete draft β€” Remove the draft version

Draft version deployment

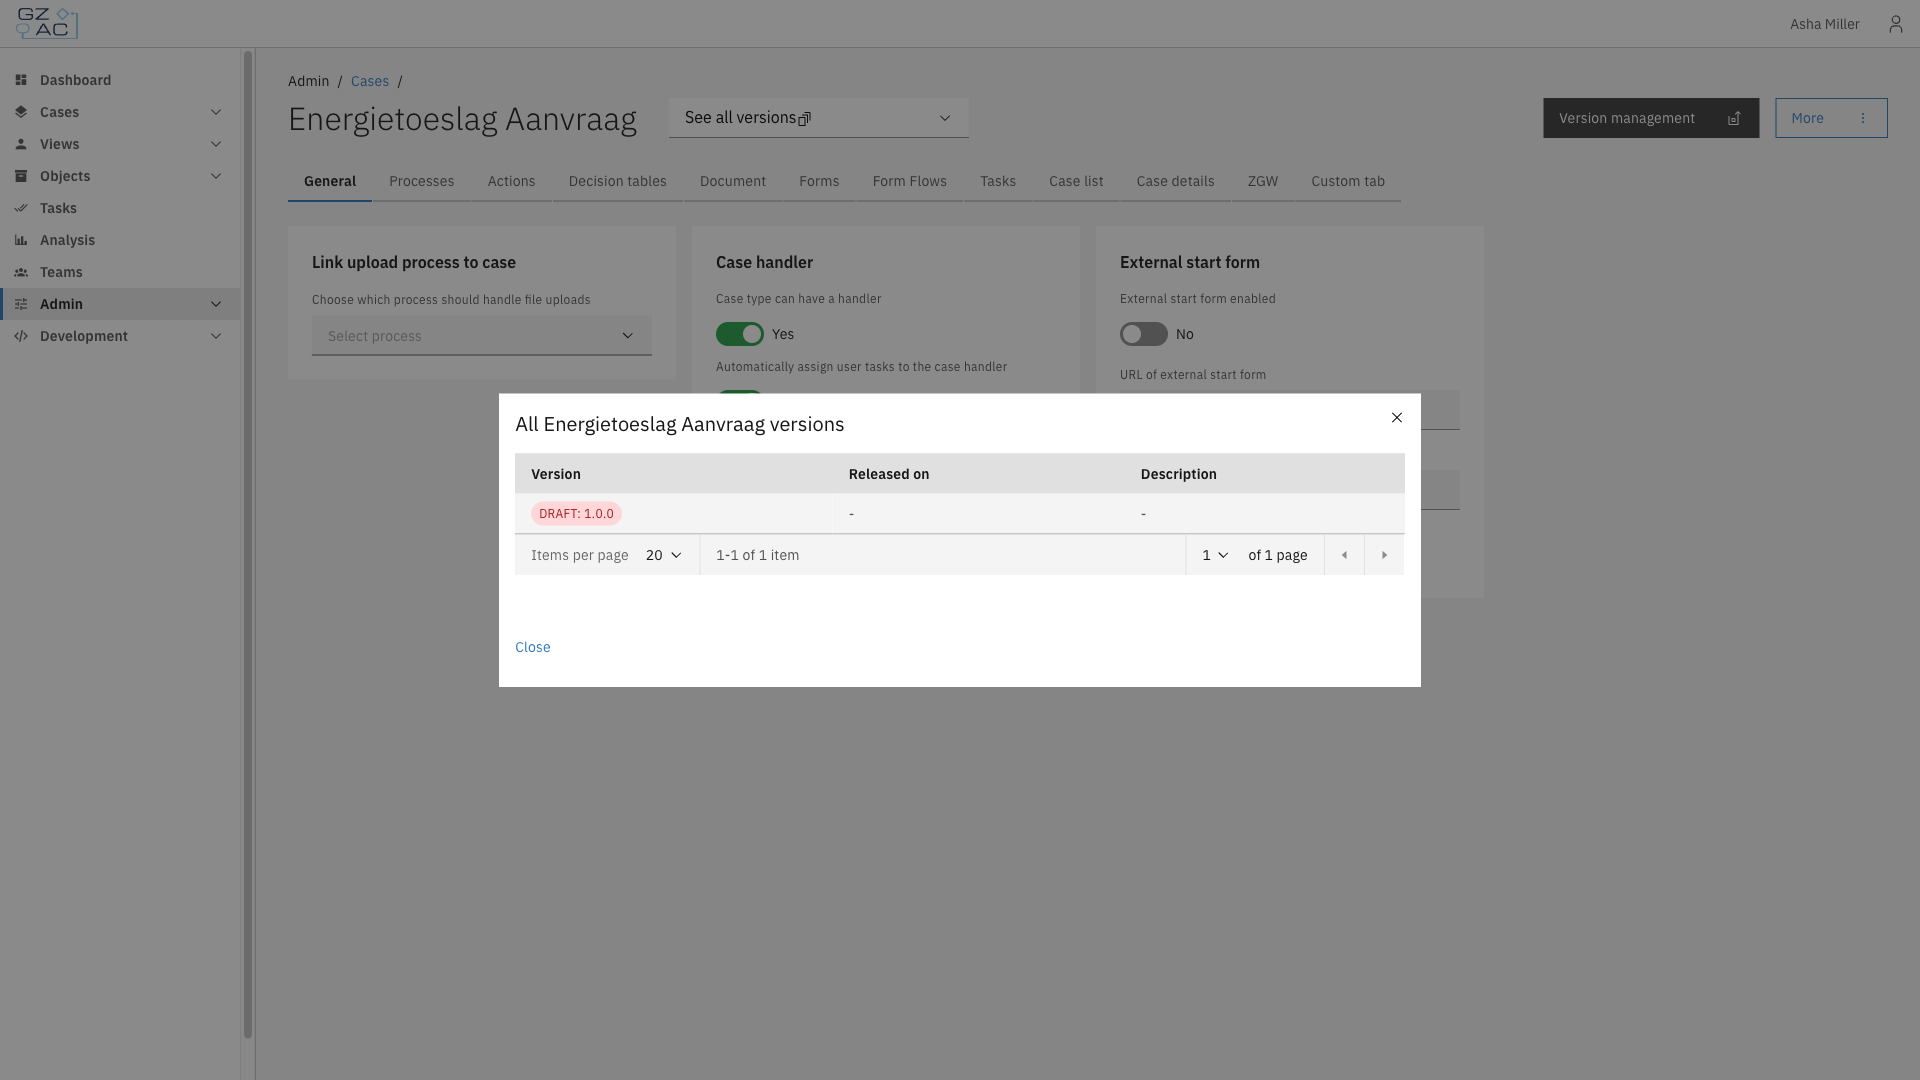
Viewing all versions

Click Show all versions in the version selector to see a complete list of all versions for the case definition. This opens a modal with a paginated table showing all versions and their status (draft or published).

Show all versions modal

Most configuration changes are version-specific. When you modify a setting, it applies to the selected version only.

Creating a draft version

To create a new draft version from a published version:

1

Navigate to the deployment page of a published version

2

Click Create draft version

3

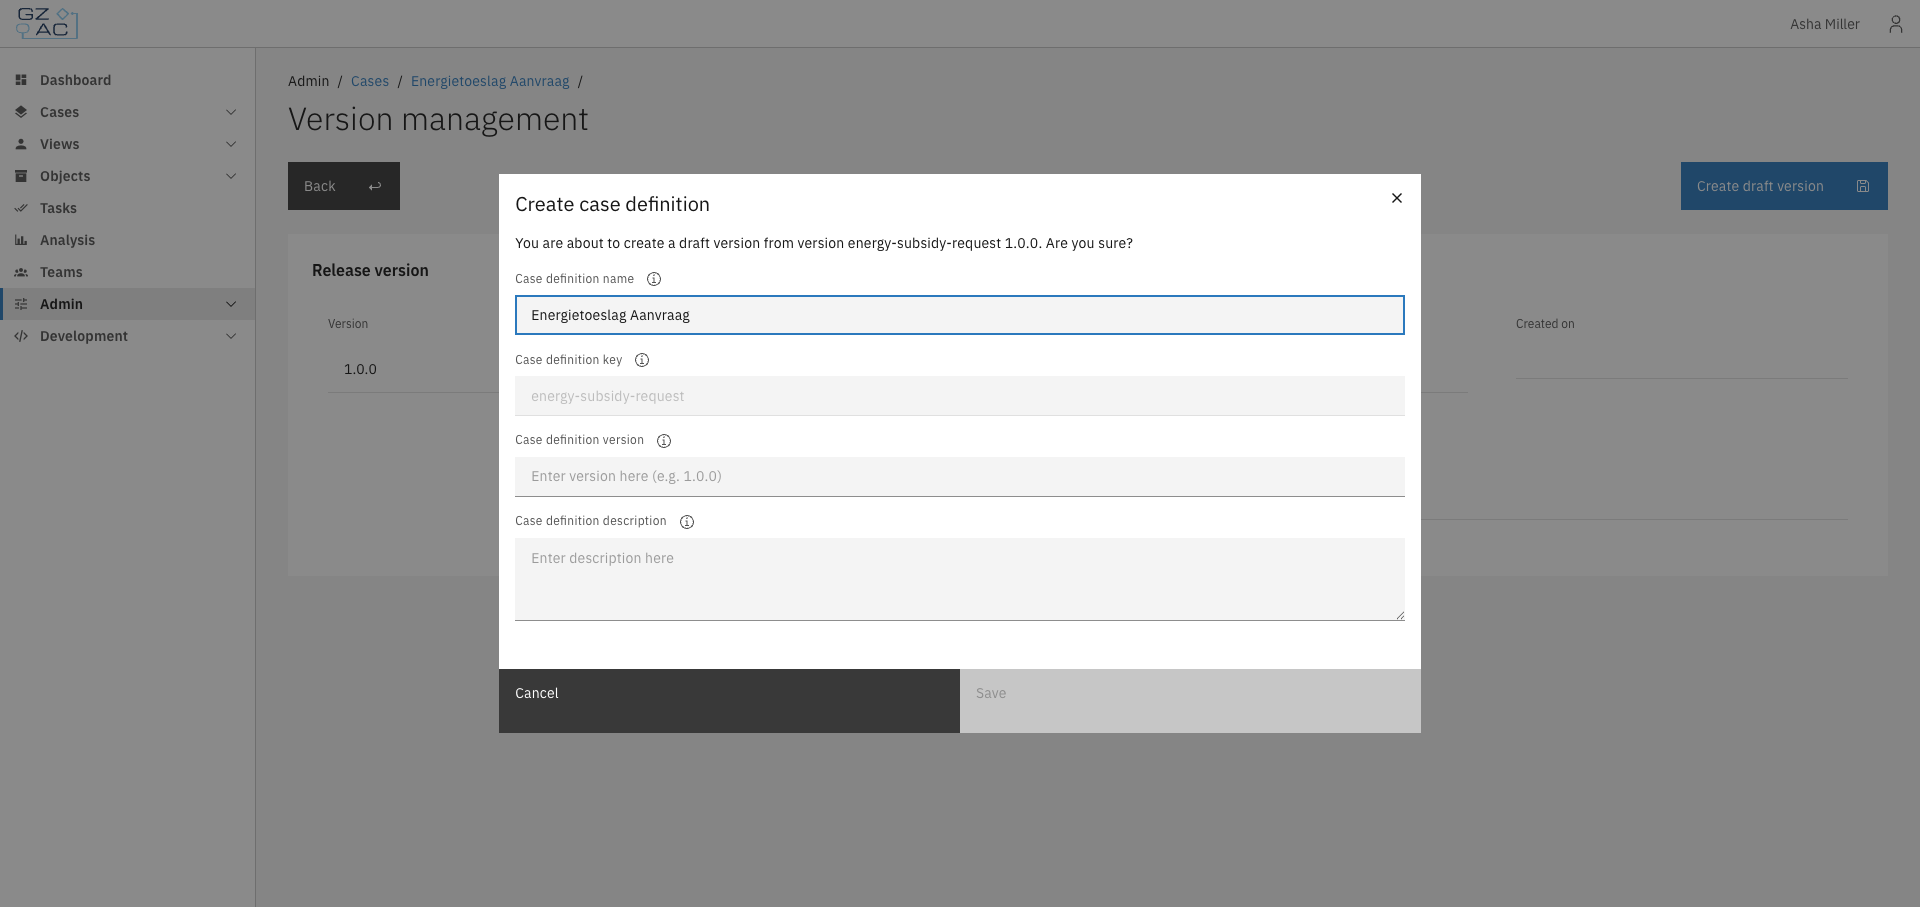
Fill in the new version details:

Create draft version modal
  • Name β€” Display name for the case definition

  • Key β€” Unique identifier (cannot be changed)

  • Version β€” New version number (e.g., 1.1.0)

  • Description β€” Optional description of what this version changes

4

Click Save to create the draft

The new draft version opens in edit mode, ready for configuration changes.

Finalizing a draft version

To publish a draft version:

1

Navigate to the deployment page of the draft version

2

Click Finalize draft

3

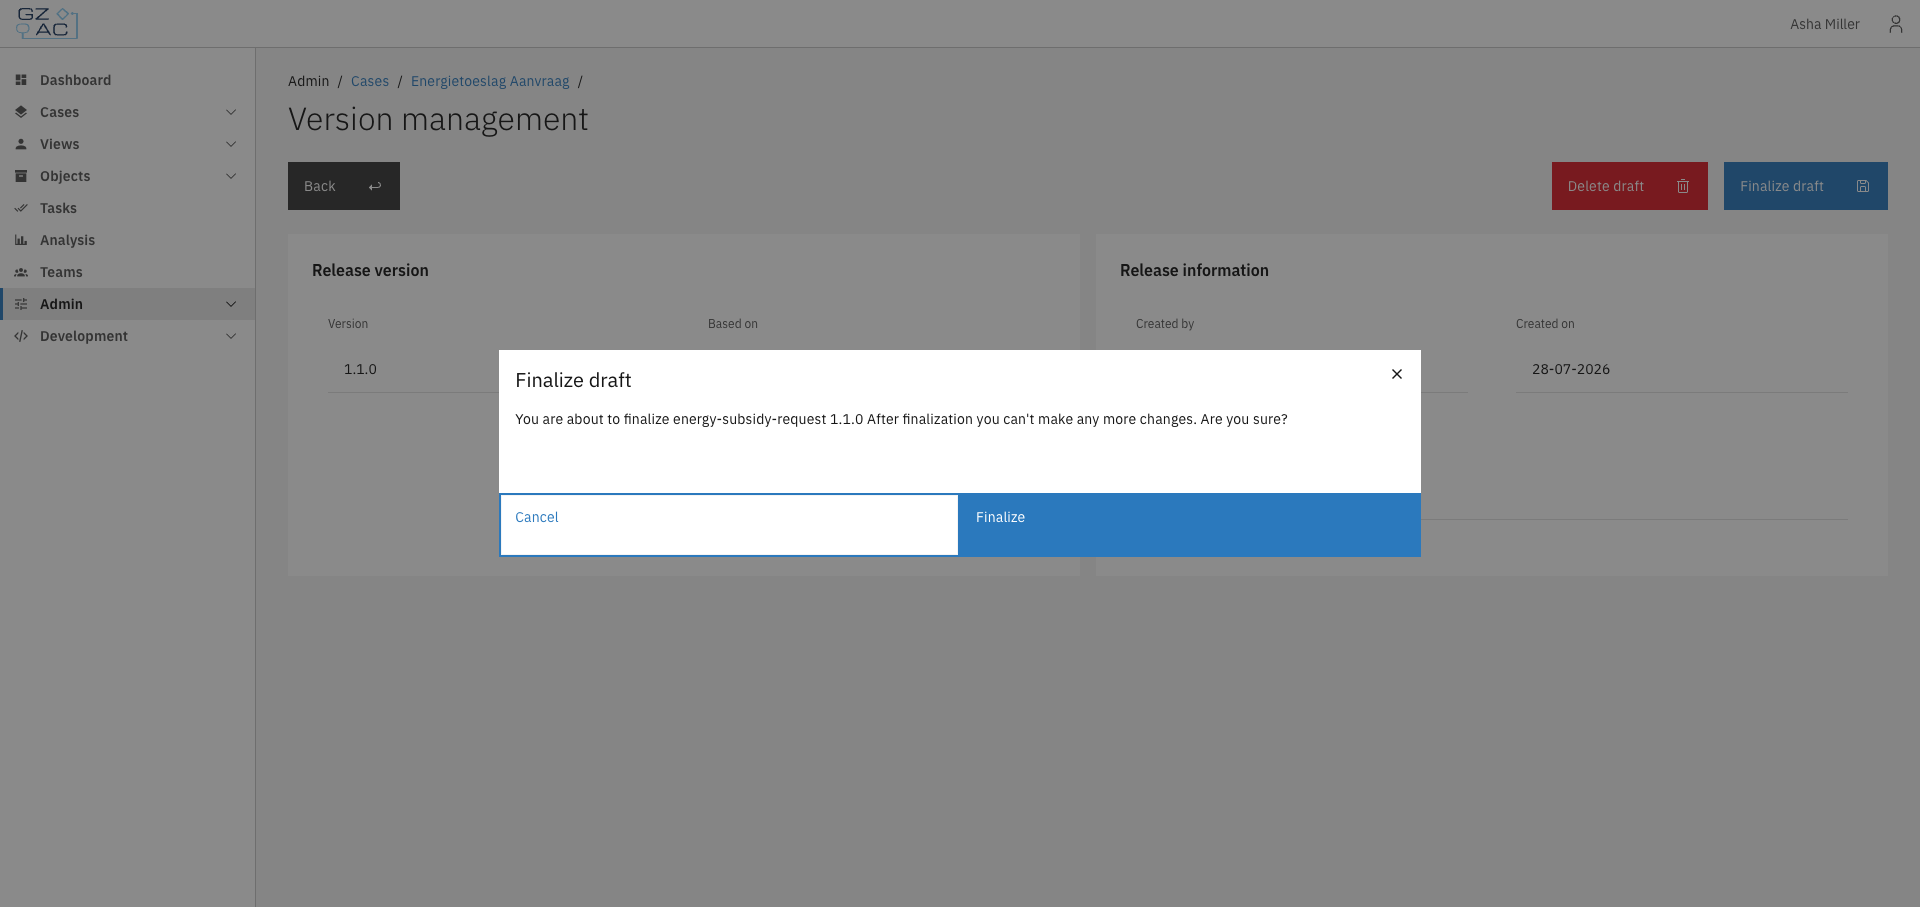
Review the confirmation message

Finalize confirmation modal
4

Click Finalize to publish

Deleting a draft version

To delete a draft version:

1

Navigate to the deployment page of the draft version

2

Click Delete draft

3

Confirm the deletion in the modal

Setting the globally active version

The globally active version determines which version is used when creating new cases. To change it:

1

Select the version you want to activate

2

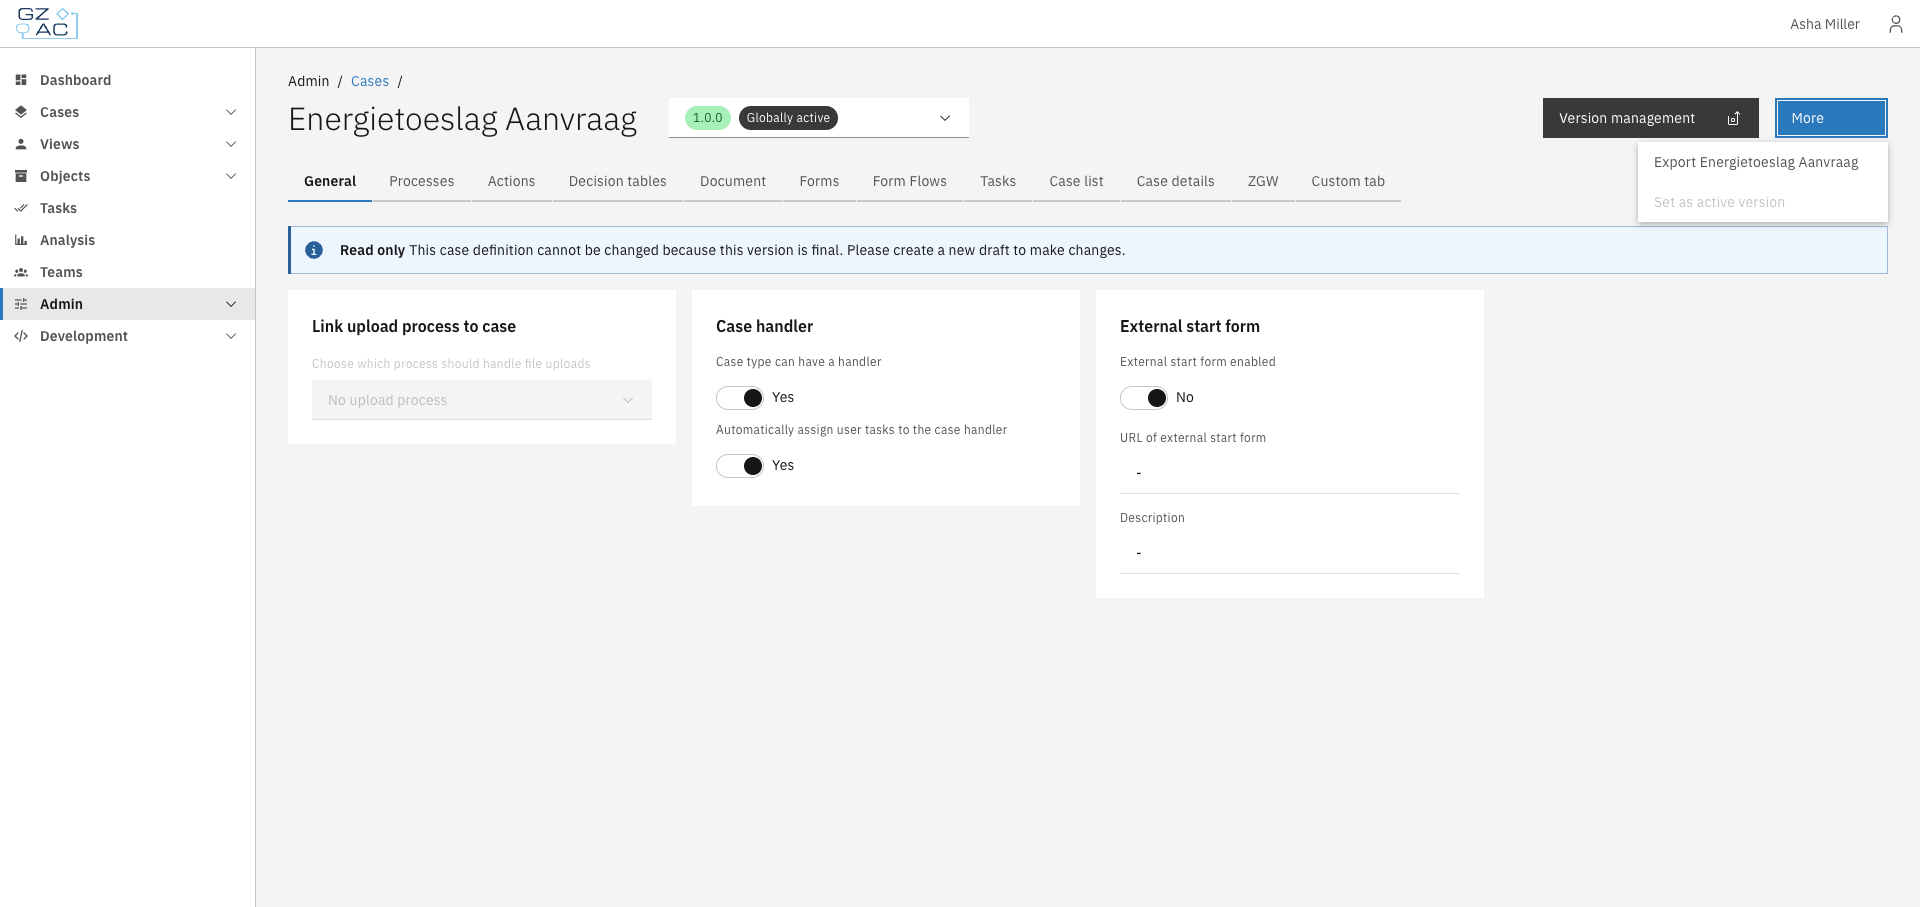
Click the More menu

3

Select Set as active version

More menu with Set as active version option
4

Confirm the change in the modal


Access control

Case access is controlled through the access control system. See Access control for details on configuring permissions.

Resource type
Action
Description

com.ritense.case_.domain.definition.CaseDefinition

view

View a case definition

view_list

View case definitions in lists

Last updated